Sunday, 10 June 2018

Hitting The Road!

Spent the past few weeks ticking off all of the jobs the MOT threw up:

Speedo cable replaced (nice awkward job needed to be done from under the car!)
Brake fluid leak fix by replacing old copper washers.
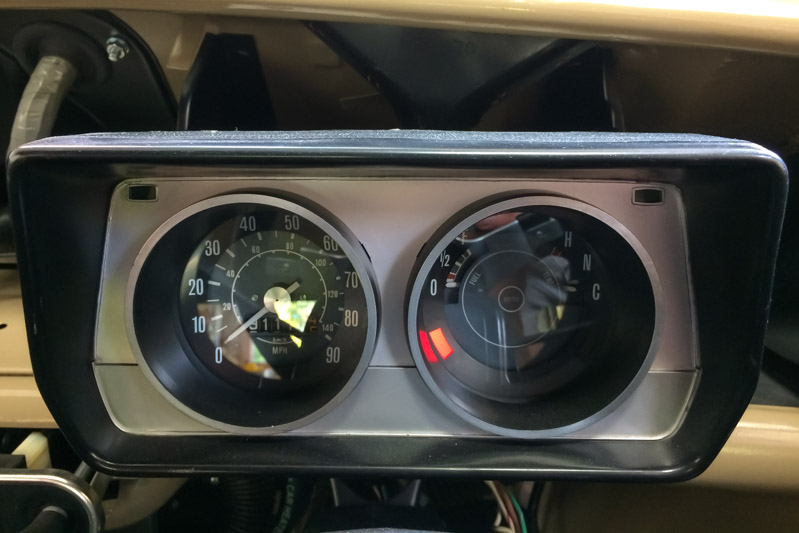
Instrument bulbs replaced.
All grease nipples thoroughly pumped with grease.
Oil leak *touch wood* seems to be gone after tightening some things up down the front of the block.
Firewall thoroughly grommeted up.
Also relocated fuel reg/filter and put washer bottle back in correct place.
Also had assembled one rear brake a bit wrong which became very obvious, loud and hot when out driving. Fixed that too.

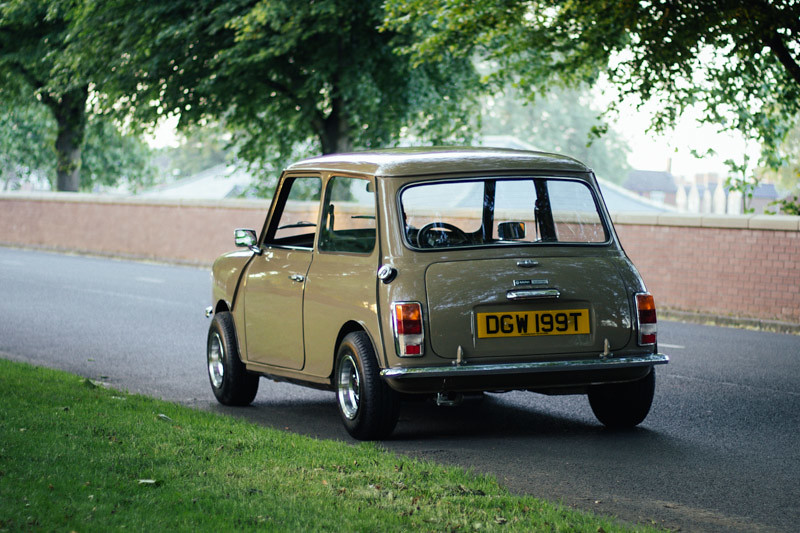
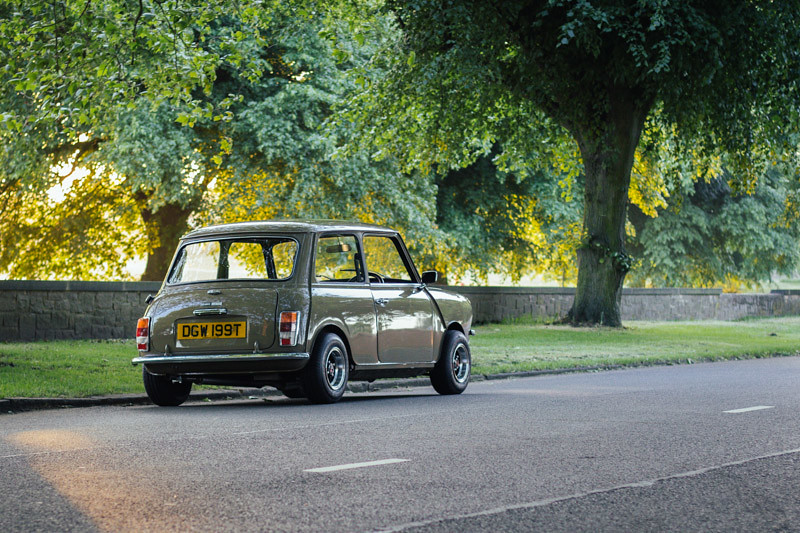
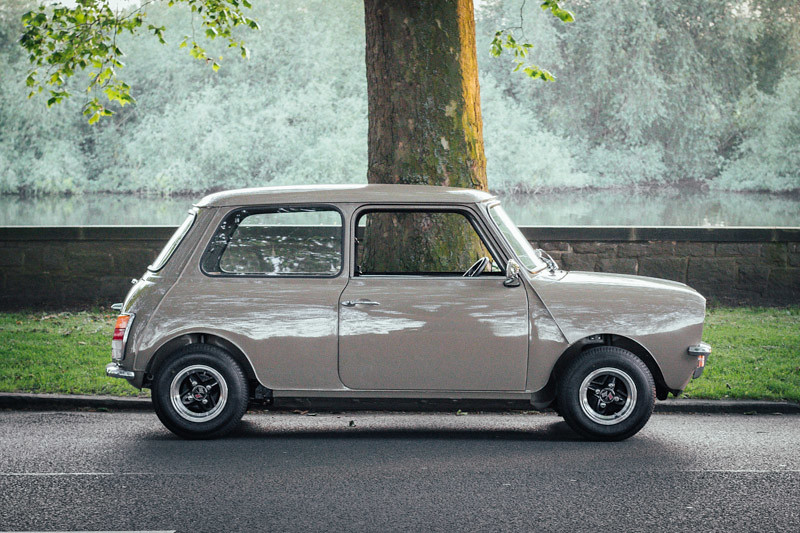
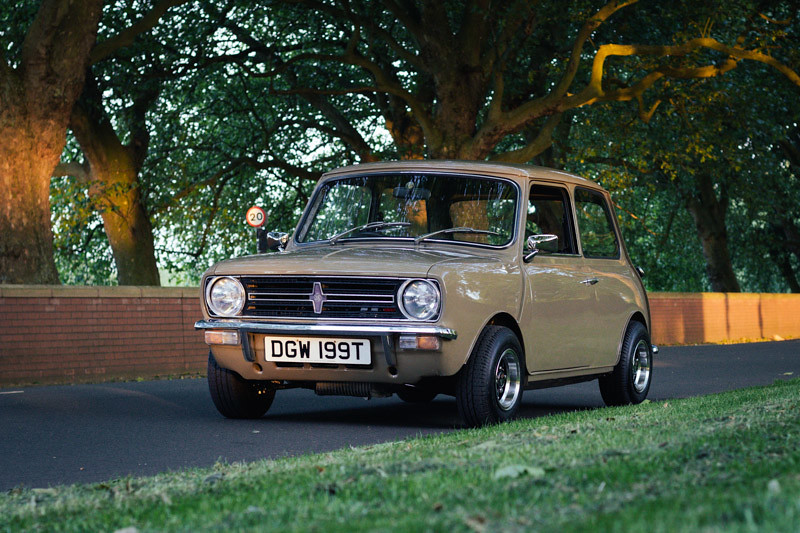
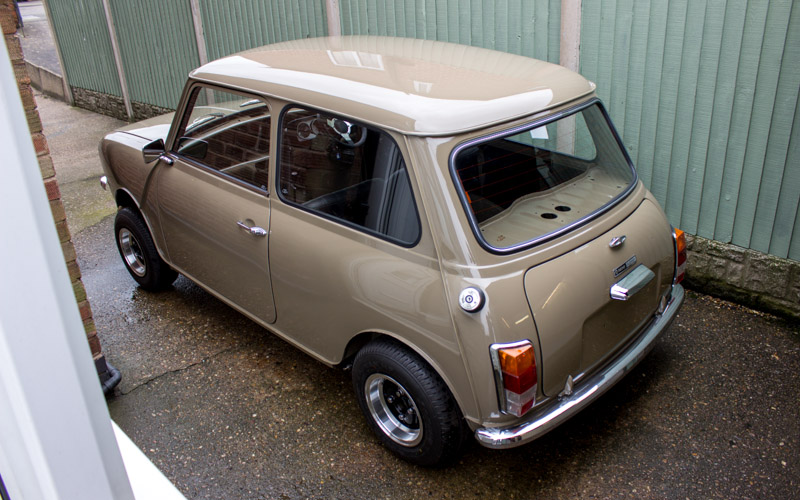
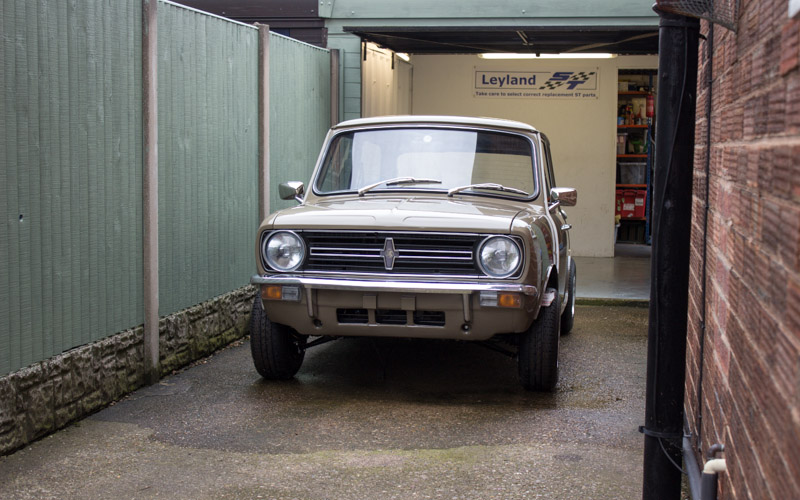
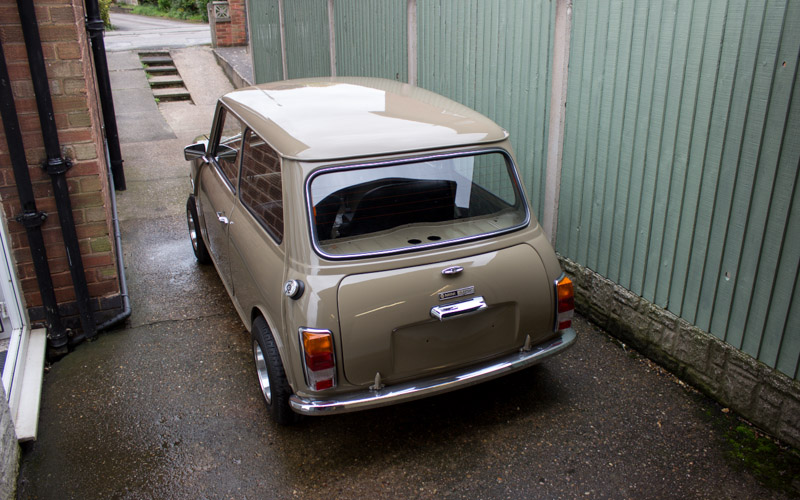
Now for some photos out and about. With all that done, I'm spending every free minute I get driving the car. Its awesome!

41820192565_54f32909c6_b.jpg

40909648740_113f5b2675_b.jpg

41820192225_09920551af_b.jpg

28846300328_df2f007624_b.jpg

40909648400_f1542fdca5_b.jpg


The only big issue I've got now is a rubbing noise coming from the back end when cornering sharply and sometimes under braking. I think its both sides, but definitely worse when turning right. Have checked brakes - seem fine, and had one hub to pieces - also seemed fine. My best guess is tires catching dampers as there is not loads of clearance. Does that sound likely? I'm going to test it next time out by marking the damper and seeing if it rubs off.


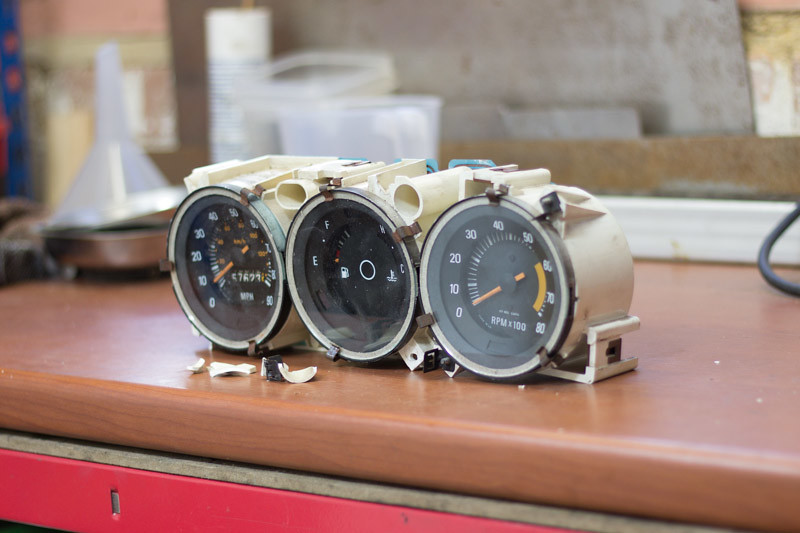
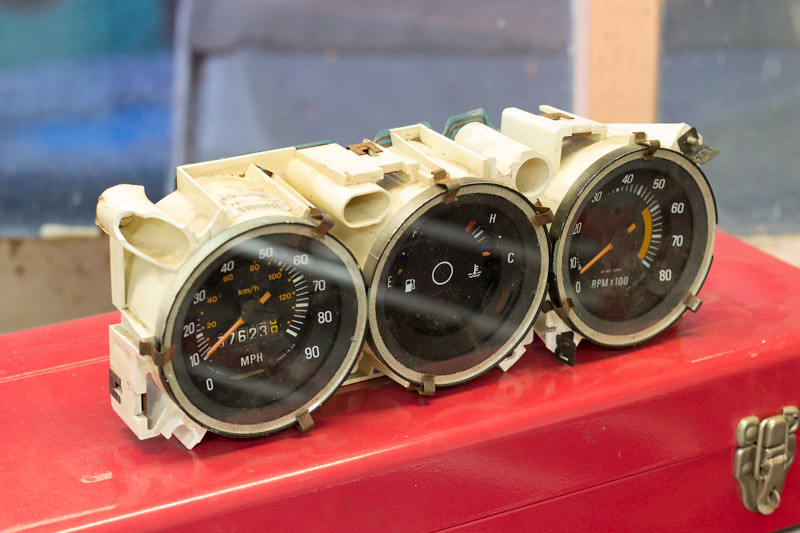
In other news, really pleased to have picked up a bargain 3 clock instrument set (albeit the 90mph version) and it is pretty worse for wear. Hopefully I can clean it up and bring it back to life because I'd really like to have a tacho in the car.

41820191945_0842172088_b.jpg

40909647750_a312a99ec3_b.jpg

Success!

MOT PASSED!!!!

Just a few small issues to deal with:

Speedo doesn't work (drive cable was not in great shape when I put it back in. Suspect its that) 
Left indicator tell-tale on dash not working
Rear brake imbalance.
Play in front hub - need to look at ball joints.
A general lack of grease in the suspension. Oops!
Minor brake fluid leak from one hose - might have already fixed this.
Minor oil leak - might have just been from pressure sensor not screwed in tightly enough.
Need to get some more grommets for the firewall as the cabin was getting a bit fumey.
Clutch overthrow managed to loosen itself on the way back from the test center so engine was bogging down with clutch in. Need to set and tighten properly.

(Yes - come hell or high water I will be at next years L2B) 

Its Alive!

So I didn`t quite make it to L2B this year (ended up selling my ticket) but my Dad and I finally managed to get the car running properly(ish) today! THANKS DAD!


The mixture was a bit rich at this point, and we managed to improve it quite a bit once we realised I`d got the jet adjustment assembled a bit wrong. I also now have a Filter King pressure regulator/filter to solve an excess fuel pressure issue I was having earlier in the week which meant fuel was flooding out of float chamber overflow. This could also have been down to the float needle not seating correctly (adjusted this again today by adding a washer), but anyway; now I have a an extra filter in the line which is nice.

Next stop: MOT test!

Monday, 14 May 2018

Issues!

Hi all!

Well I seem to have cured the nasty ignition light being on all the time...

40306259130_d30582fb67_o.jpg

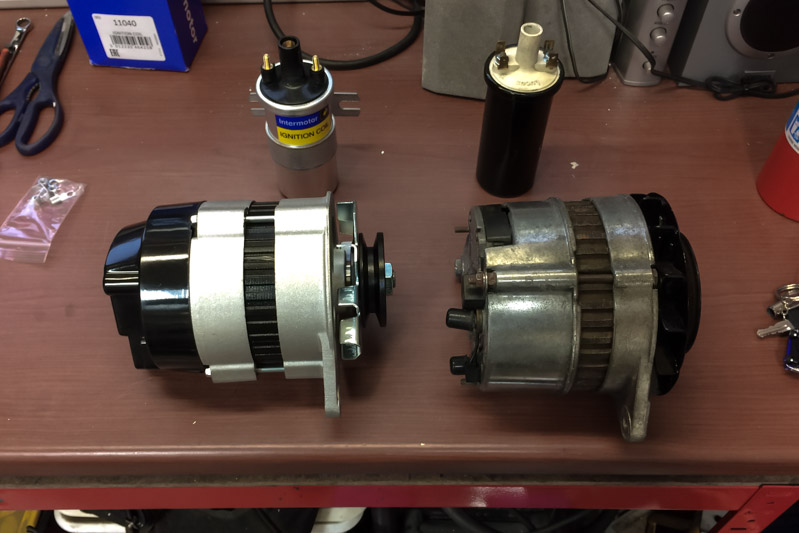
... by buying a new alternator. Also decided to go for a new coil at the same time to rule out any weirdness in that department. Old on the right, new on the left.

42113267581_ef939140ed_o.jpg

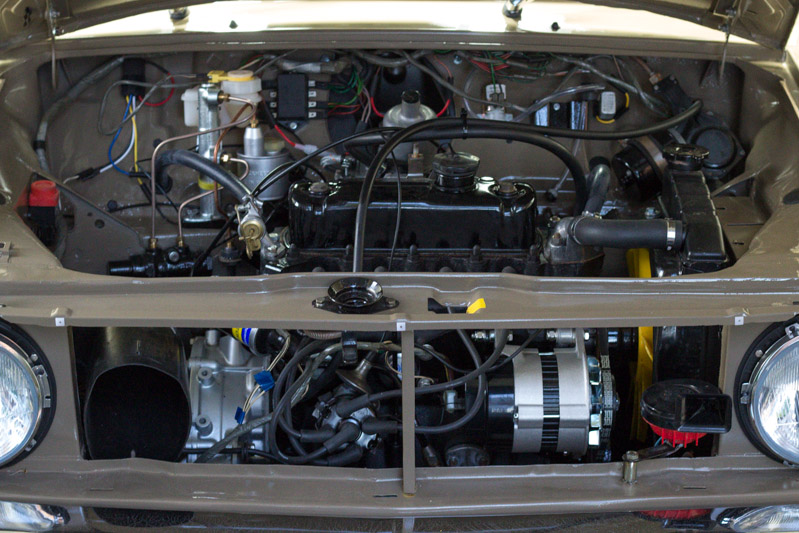
So here is everything installed. Battery was charged, so I turned the key and it started first time! Ran it for a couple of seconds then turned it off. It sounded basically good but definitely needs some setting up!

40306259330_7d992cd0ef_o.jpg

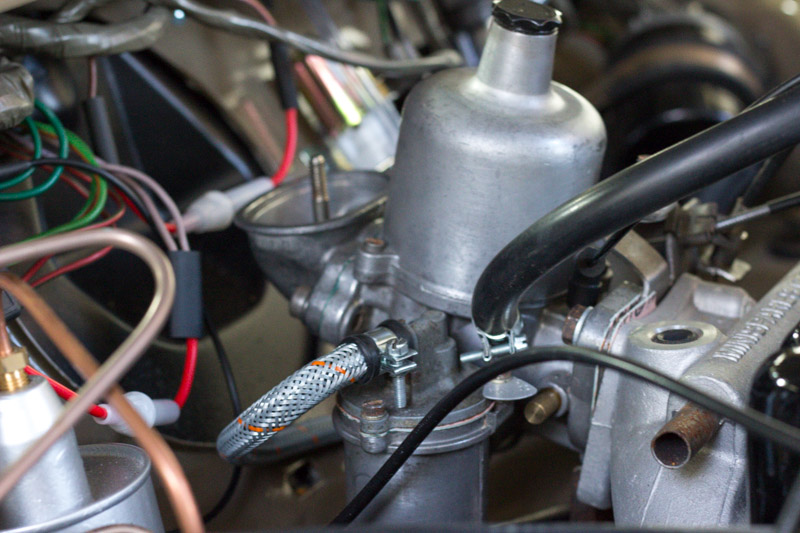
HOWEVER, when I had a quick look at the engine afterwards, I found fuel had been gushing out of the float chamber. :(

42113267671_bb76777d37_o.jpg

At first I assumed it was the pipe union, but after taking it all apart I was surprised to find there is an overflow hole and it was coming out of there. The pin actuated by the float and the part it is supposed to seal to are new but they could have been sticking. More likely is the facet fuel pump is generating more pressure (4-5psi) than the carb wants (apparently 3psi). So I've ordered a Filter King regulator and filter which should reduce the pressure and stop fuel escaping.

I hope!

Getting Closer

Have been working away on the car for the past few weeks - brakes sorted, clutch sorted, electrics sorted (so I thought), static timing sorted, coolant in, fuel in etc. Had everything ready to try to start the car today, and had also made the booking for an MOT, but sadly had to cancel as there were a few last minute problems. 

First of all the ignition light comes on as soon as the battery is connected - even when the keys are not in. I'm puzzled by this. Bad alternator? Bad wiring? Bad ignition switch? I've asked for help in the questions section because I'm not sure what to do about it:  http://www.theminifo...r-switched-off/

Apart from that, there were a few minor fuel leaks to take care of, but with those fixed we ultimately could not get it to fire. Fuel is getting to the spark plugs, but we suspected weak spark because we had been cranking it over quite a lot by this point and the battery was getting low. Battery is now on charge and we will try again another day.

*SIGH*

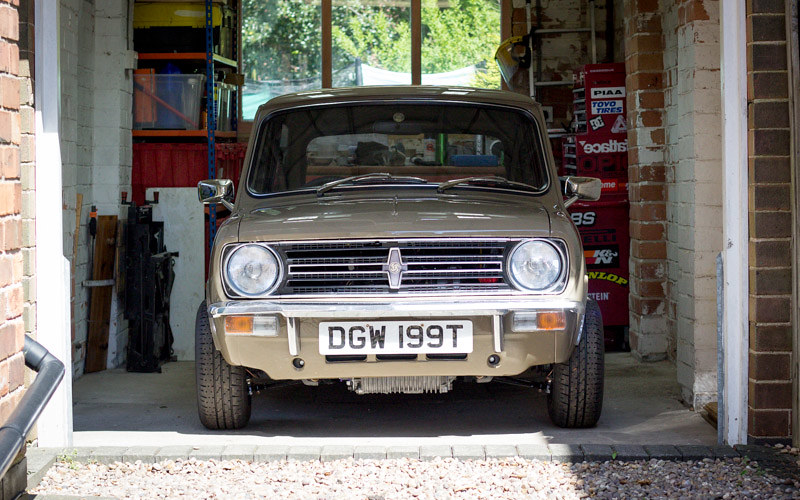
For now, here is another photo of the car sitting in the garage going nowhere fast.

28104726398_3367da0595_c.jpg

She's Electric

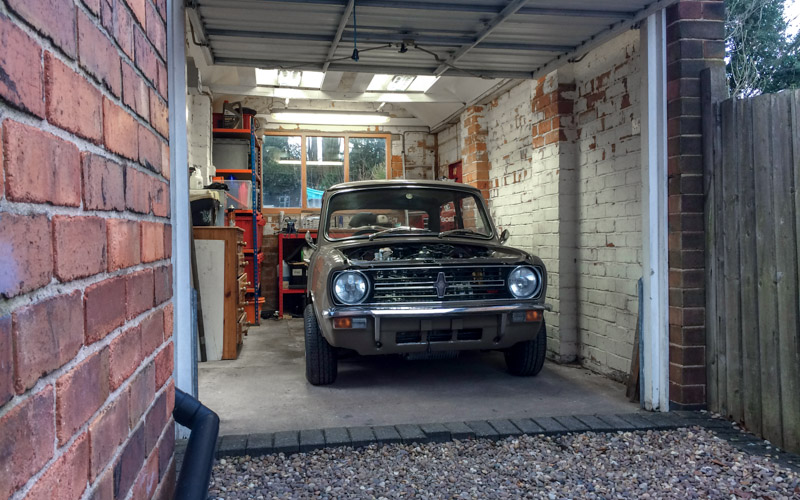
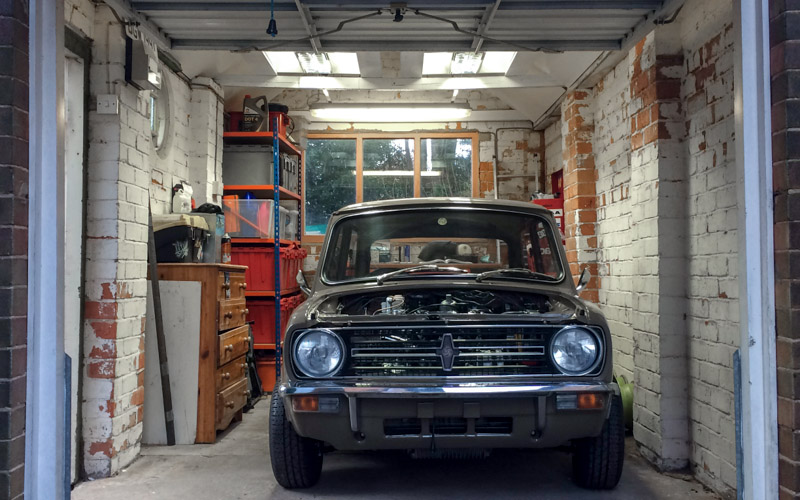
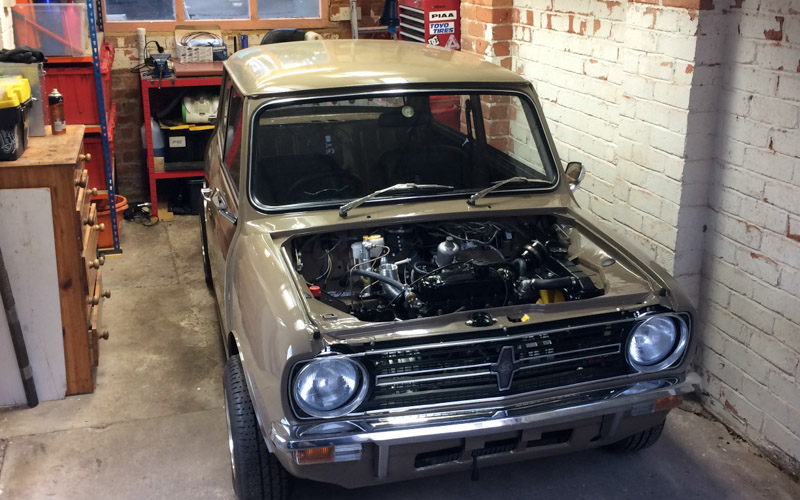
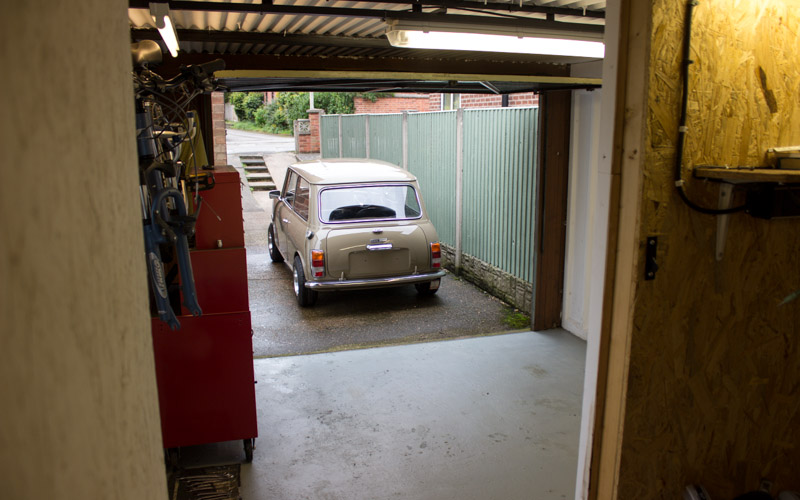
Long time no post! I've been a bit busy lately moving house, so not exactly loads of mini progress to report, but here are some pics of the car in its new garage.

(Not nearly as spacious as my previous garage/workshop which I'm sure I will sorely miss, but at least this one is built of brick with a proper roof!)

40865760041_502d839807_o.jpg

I had a day last weekend working on the electrics with my Dad (who is an electrician), and managed to turn the engine over a little on the starter motor. All good so far. No more engine progress on the engine as I'm waiting for an oil pressure meter to arrive so I can make sure I'm getting oil pressure.

Have been reading all I can about first start procedures, but honestly finding the whole thing mind boggling since there are so many opposing expert views on the subject. :S

40865760261_7d4d89a915_o.jpg

As far as electrics are concerned, the situation is as follows:

Headlights dipped: working
Headlights main beam: working
Sidelights: working
Indicators: lamps working but missing flasher unit (on order)
Rear lights: working
Brake lights: working
Reversing lights: working
Hazards: working
Horn: working
Wipers: basically working but a bit weak
Washer pump: working
Heater fan: working but catching heater body, needs a tweak :( 
Fuel pump: working, wired to inertia switch for safety.

39972034405_a204f3658f_o.jpg

Have also tried filling the clutch reservoir up and bleeding, but hey ho the only old union left in the circuit leaked, so now waiting for a new pipe to come. Not holding out much hope for the brakes because I have reused most of the old pipework. Have a feeling I may end up replacing some/all of it!

Sunday, 21 January 2018

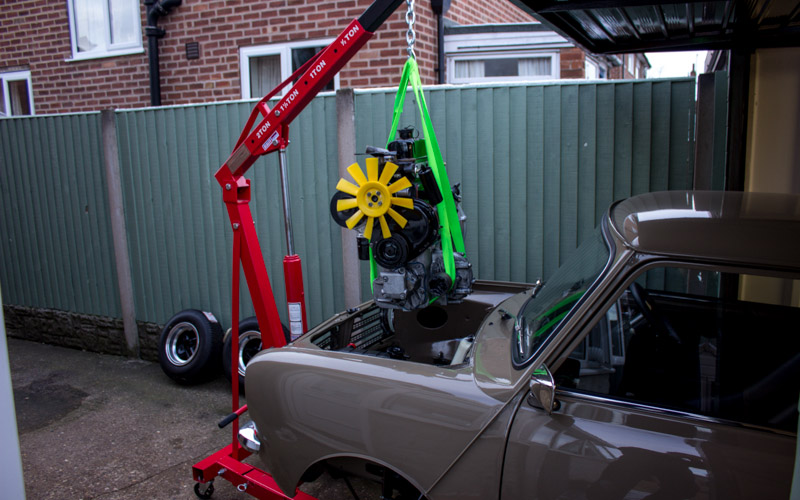
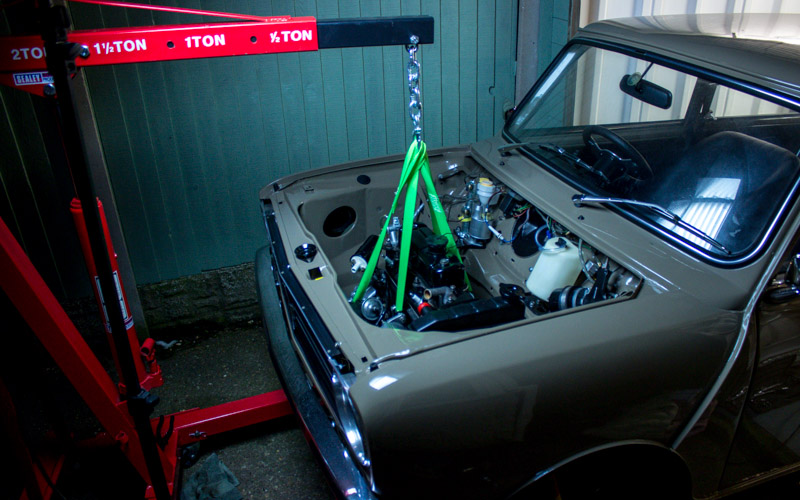
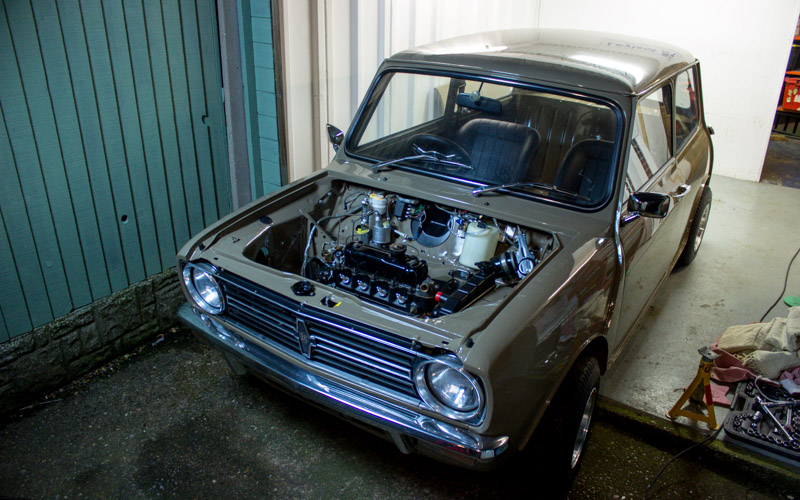
Engine In

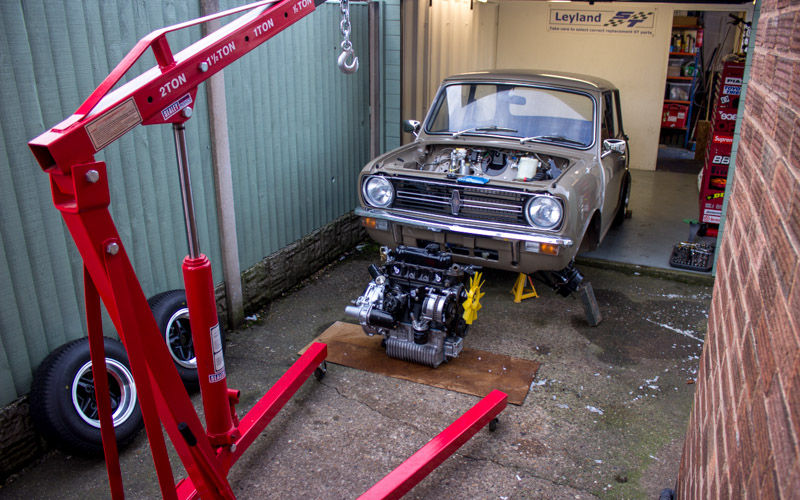
-2° outside and snow still on the ground, but what the hell. Lets put the engine in!

Not a lot to write about this other than that it was bloody hard work! Here are some pics!

25144411848_623eaea0ba_o.jpg

38979114172_570df31575_o.jpg

38298856304_2464bc2f35_o.jpg

38979111612_5f4e993864_o.jpg

Saturday, 18 November 2017

Engine Progress

Haven't posted an update in a while because I've been spending every spare moment working on the car. Quite a bit of progress has been made, so here goes.

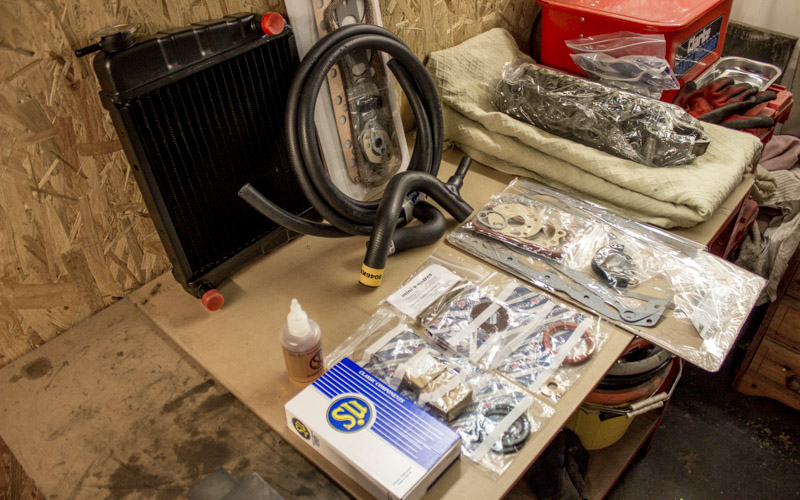
First of all, here is a bunch of parts I bought! New rad, hoses, carb rebuild kit, diff parts, seals, gaskets. Also bought but not in this pic is a RC40 exhaust. :)

38370362761_06eeea8aaa_o.jpg

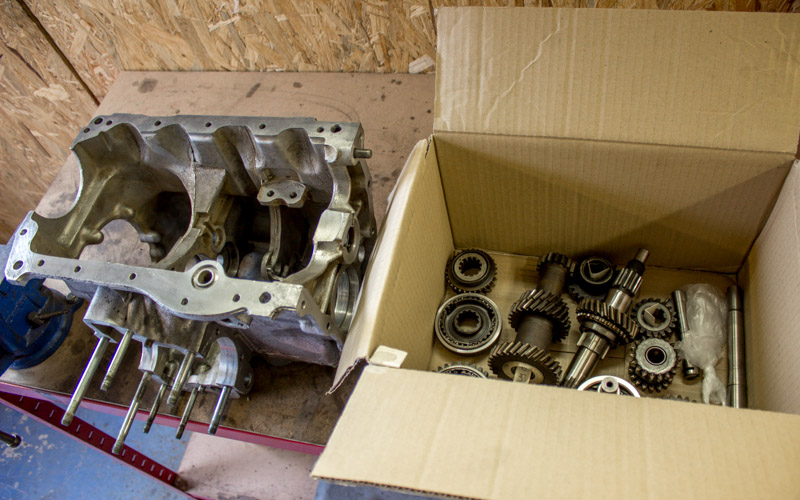
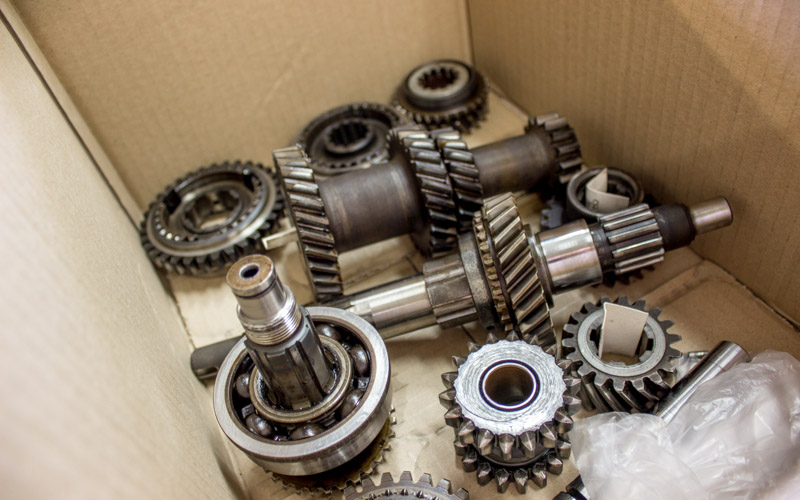
While the engine was away at Stanwood Engineering, I worked on the gearbox myself. Everything stripped down, cleaned and inspected.

38370365451_b79fb2f5e0_o.jpg

Thankfully, no major badness was found, so all of this lot went back in again.

24499697728_0c7bde74fb_o.jpg

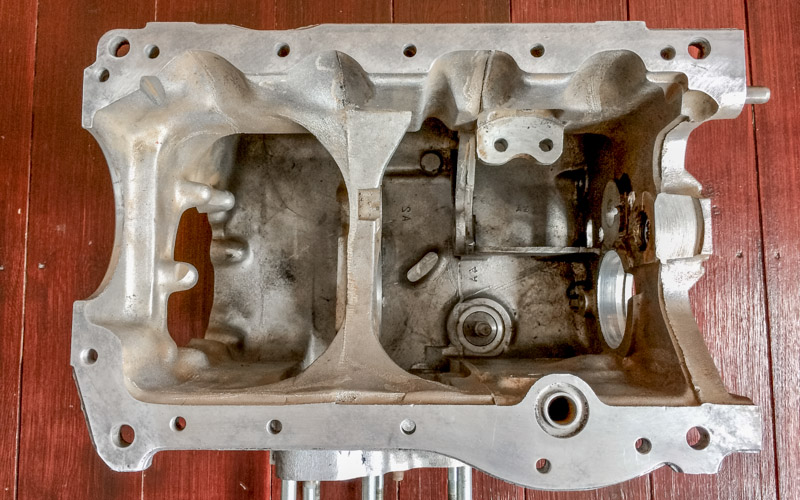
Here is the cleaned out casing after much scrubbing!

26594758699_dae646312c_o.jpg

New baulk rings went in, and the old oil pick up replaced with a centre oil pick up pipe.

38370359571_e11c25c0c0_o.jpg

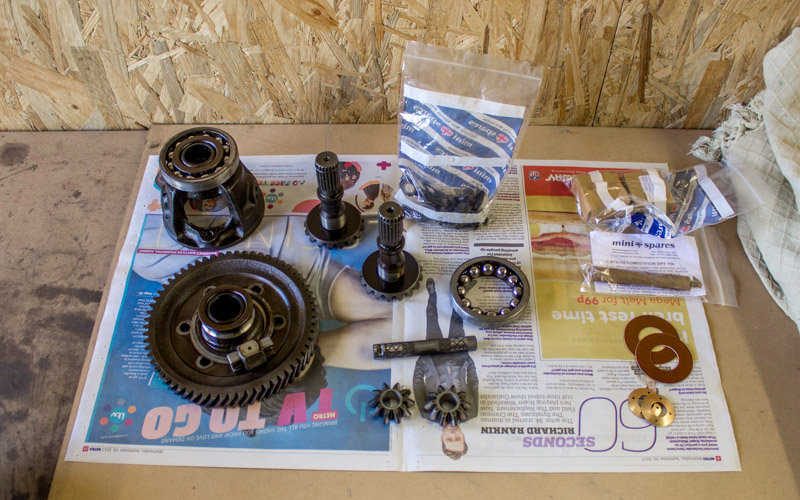
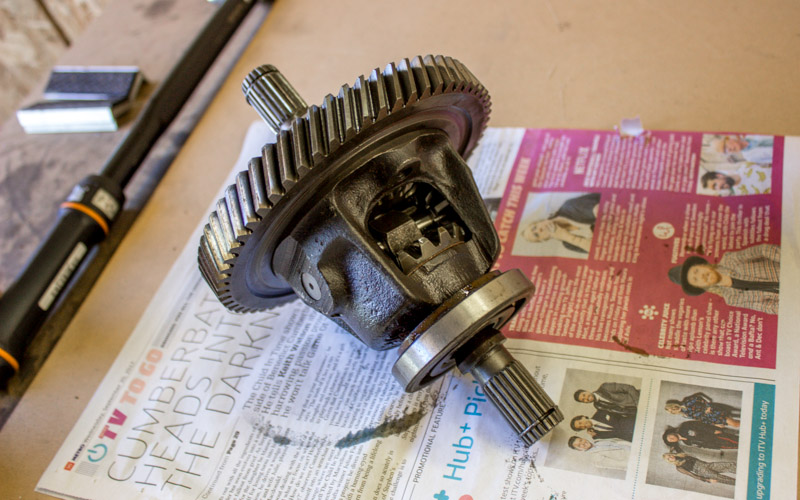
Also took the diff to bits to replace the pin, washers, and planet gears.

38370361181_fa6eab8421_o.jpg

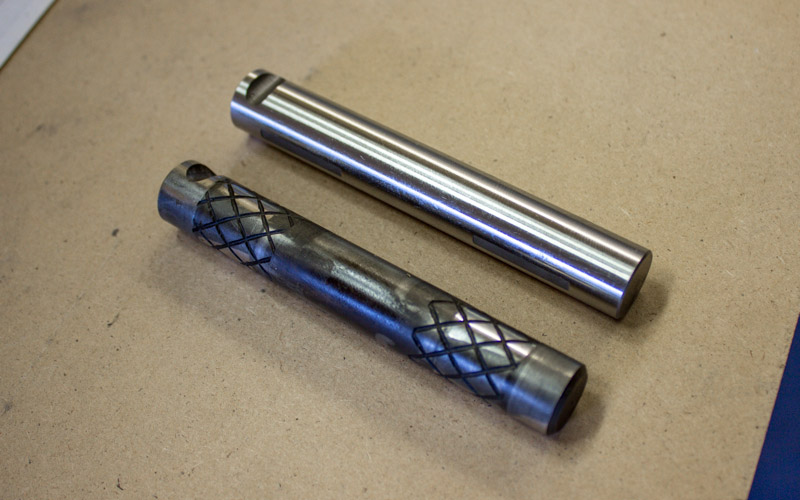
Old diff pin vs new 'performance' diff pin which was cheaper than the standard one.

26594757379_2cd6de51ca_o.jpg

The finished article with new bits installed.

24499694538_ab4735ee3c_o.jpg

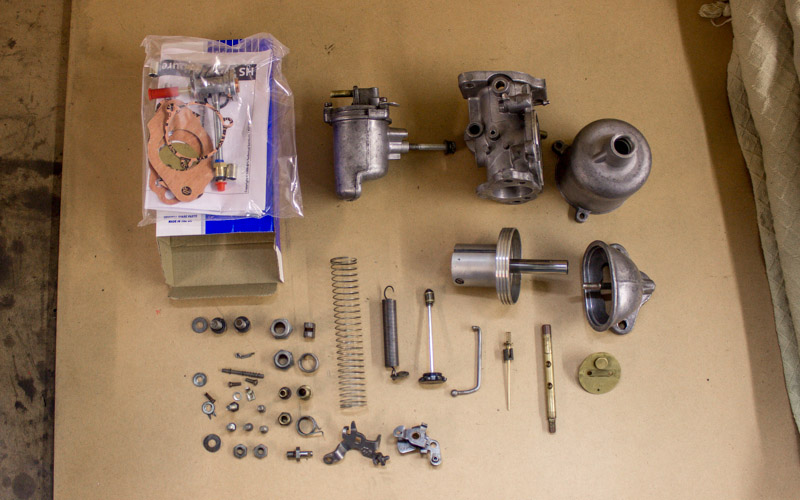
I also fully stripped the HS4 carb and cleaned everything out. Bought the full rebuild kit to renew all the worn parts.

24499695468_b0f6733acb_o.jpg

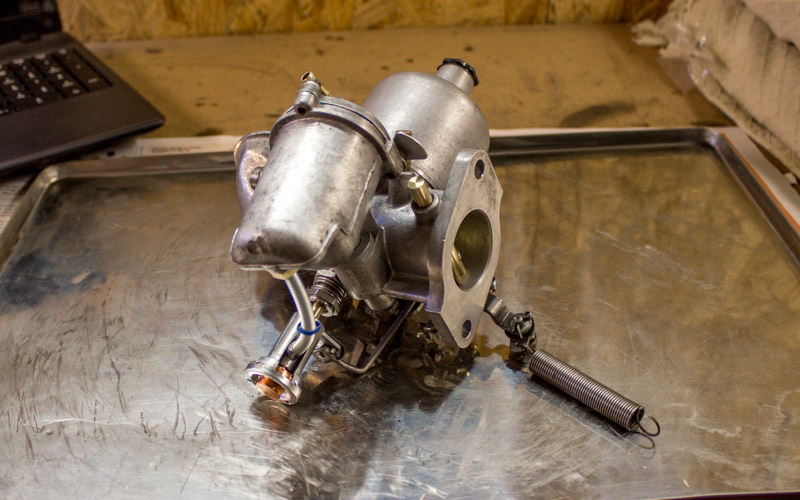
Here it is all back together. No idea yet how to go about tuning this thing but I guess I will have to learn!

24499693898_da1ed980ef_o.jpg

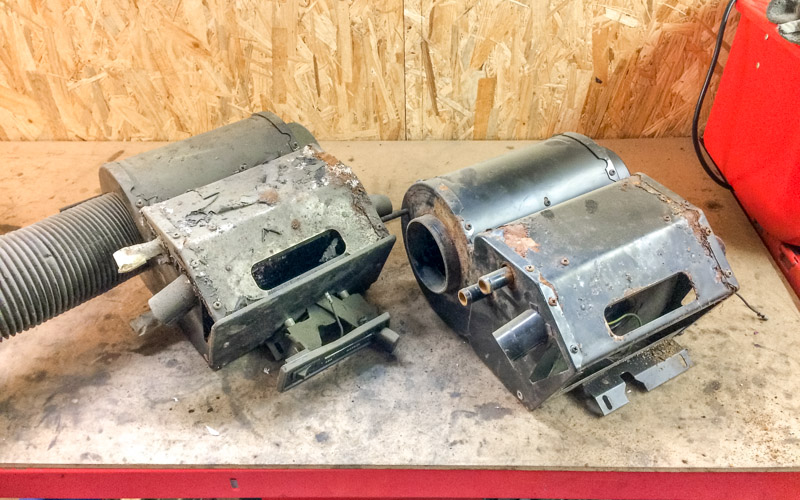
In other news, I needed to do something about the heater unit situation. I had somehow come to own 2 of these things, but neither of them were in decent condition. The idea was to recon the best one.
38370344141_41162c8a6f_o.jpg

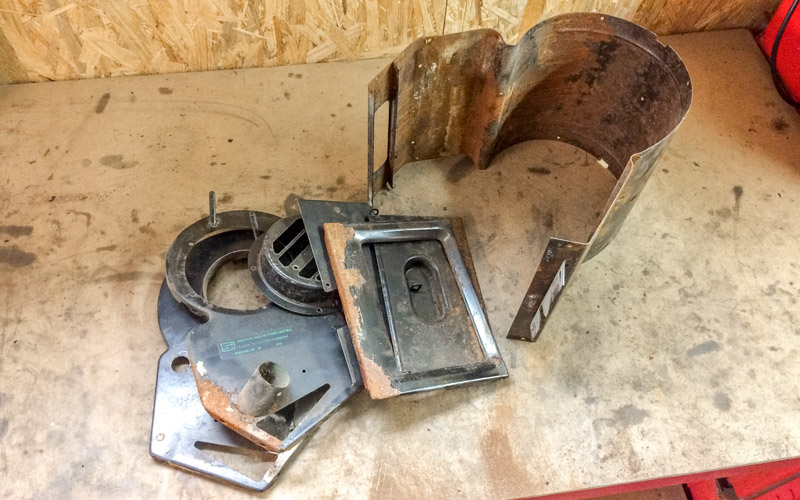
All this panels ready for rust repair.
38370342381_44ab1d3807_o.jpg

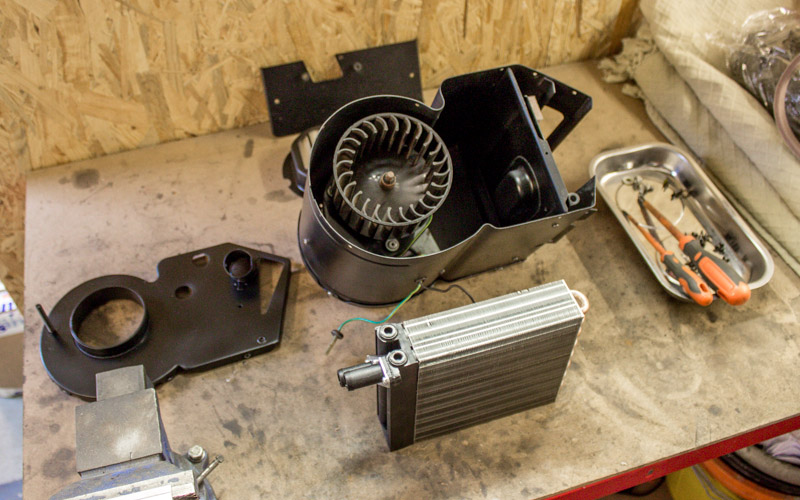
Everything painted and going back together. One of the units was a later version with 2 holes in one side, so I used that one because a new later matrix is cheaper :)

38370357681_b1b67451ef_o.jpg

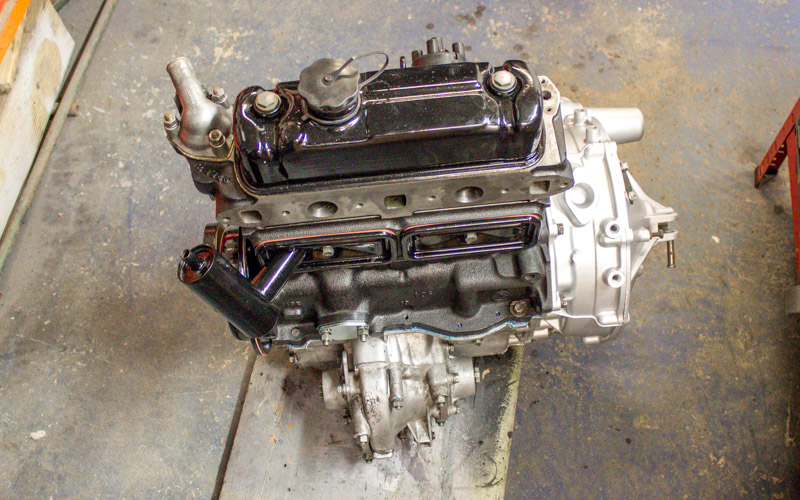
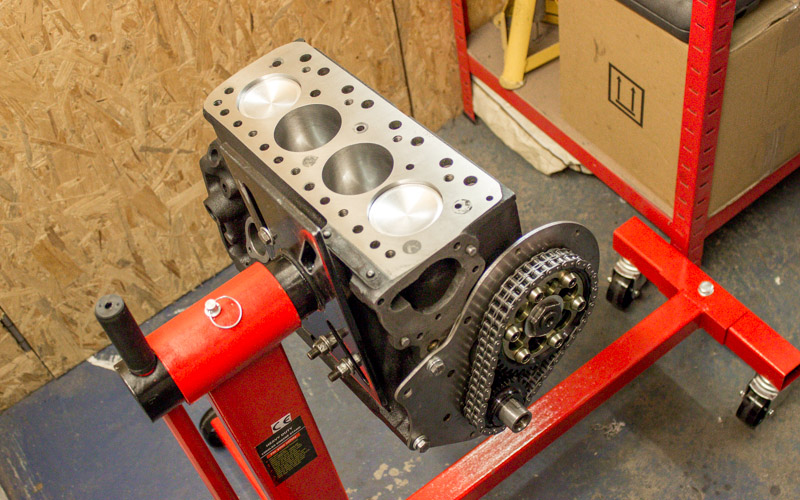
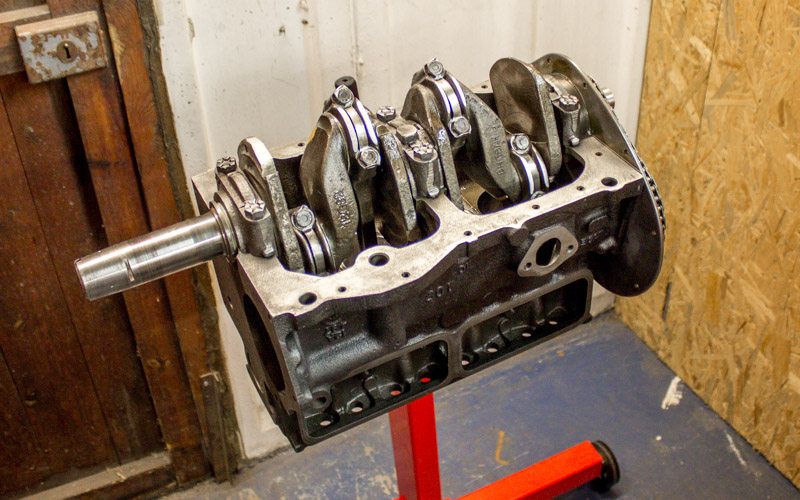
Then the short motor build came back from Stanwood. Hooray! Very pleased with the work they have done - rebore block, new pistons, unleaded head recon.

38370364321_6a3480a624_o.jpg

24499696658_6d1aa9bb02_o.jpg

38370355961_e003835a10_o.jpg

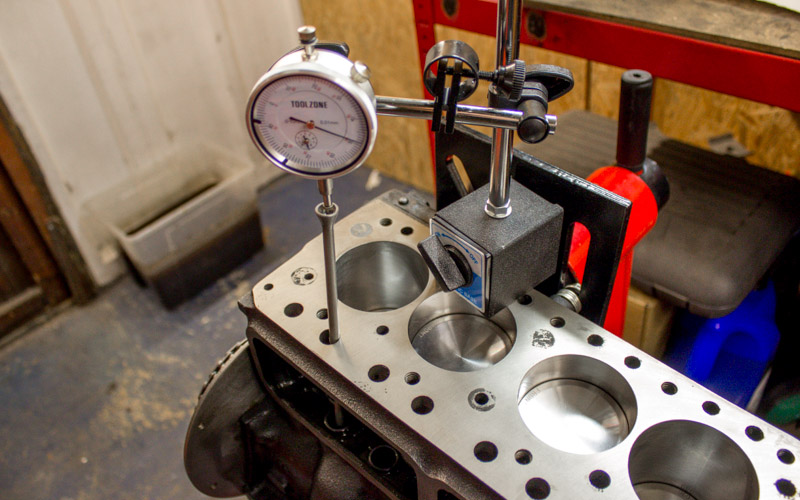
Then it was up to me to do the rest of the build. First job was to install cam followers and confirm the cam timing was accurately set up. All good. 

38370356821_548526d5b2_o.jpg

Head studs and gasket on.
38370354871_40bed6e9d4_o.jpg

Then on with the head and 1.3:1 roller rockers.
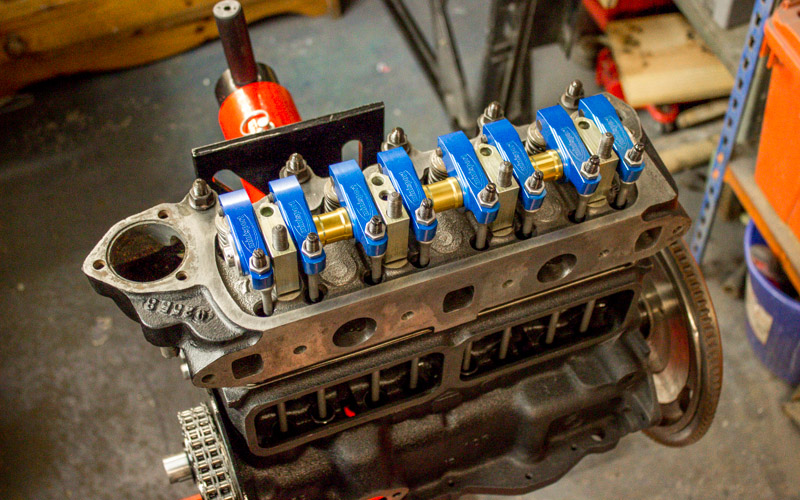
38339767742_22b9f4841d_o.jpg

The gearbox went on and off a few times because I encountered a problem which stopped the engine turning over. (Didn't take any pics because I was too stressed!). It turned out to be a slightly raised locktab on a con rod fouling the oil pick up pipe. Solved it by hammering the offending article flat.

On with attaching new things - here is a new oil pump from Swiftune.
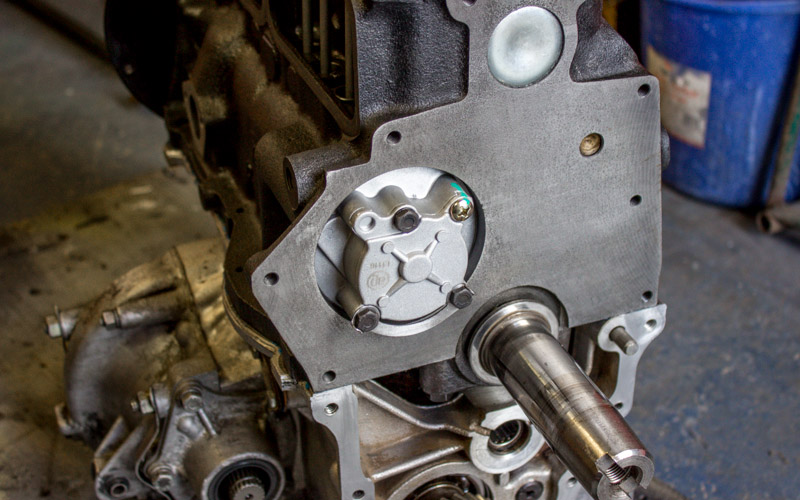
37656194904_b34f548481_o.jpg
 
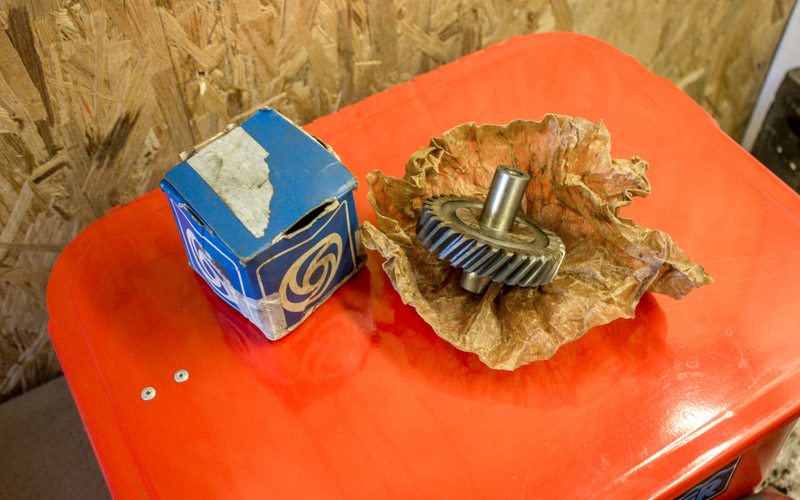
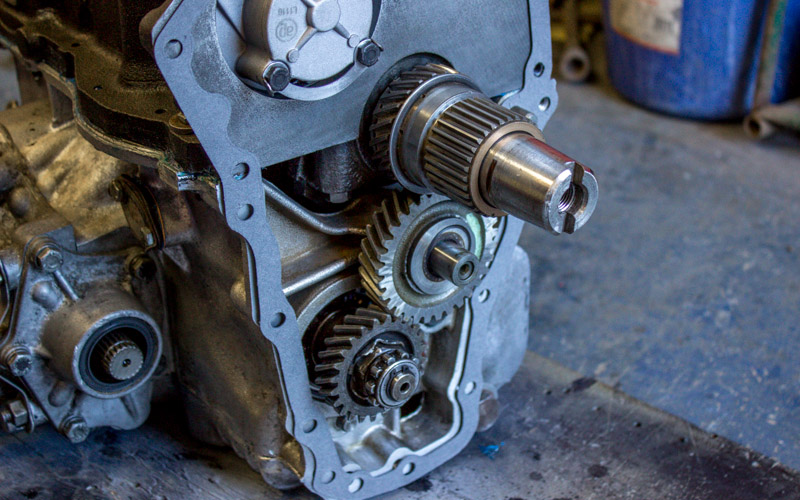
The man at Stanwood Engineering said I needed to replace the old worn idler gear, so I had planned to buy a new one from minispares. Then I noticed a cool dude called Darren was selling a NOS one on this forum so I snapped it up. :)

37656195564_b162f0b7f4_o.jpg

Works very nicely!
37656194664_42615daf00_o.jpg

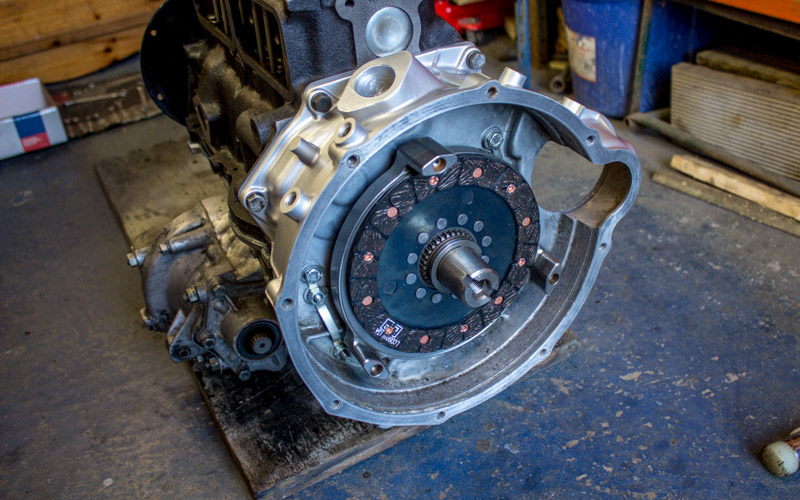
Then on with the transfer casing, new pressure plate and clutch disc.
38370348301_d6b961f014_o.jpg

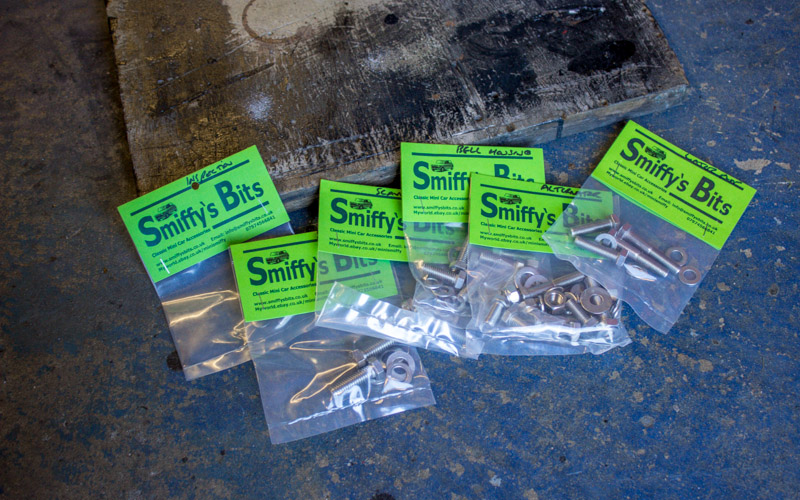
I decided it would be worth getting a few new fasteners to replace some of the nasty old rusty ones...

38339762462_1692e2bdac_o.jpg

This is how I left it today. Flywheel is on, which has its new ring gear installed, oil filter housing is on, timing cover and front pully are both on. Cleaned up distributor is also on, which was a scary experience because its very easy when trying to install the spindle to drop it down into the gearbox. Thankfully that didn't happen.
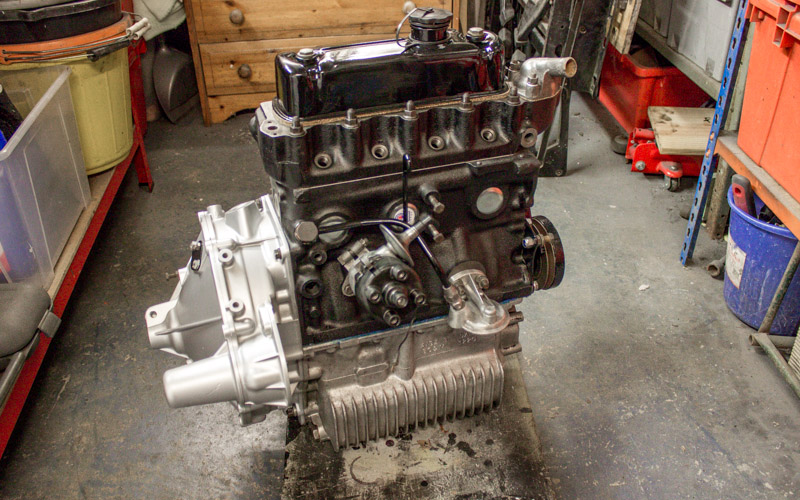
26594760809_62456884e3_o.jpg


26594759659_1176006078_o.jpg

Need to do another quick order from minispares to pick up a few more bits that I need, but I feel like I can almost see the light at the end of the tunnel with the engine build now. I just hope it works!

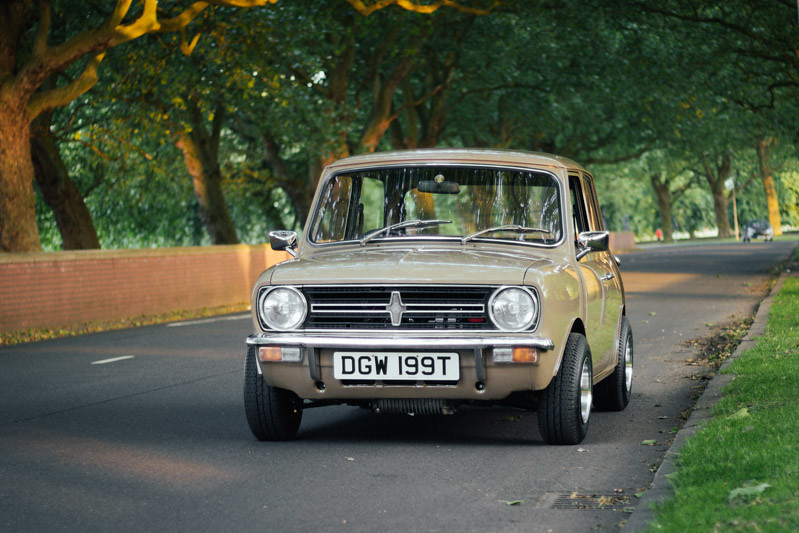
The Endless Cleaning of Oily Rusty Engine Components

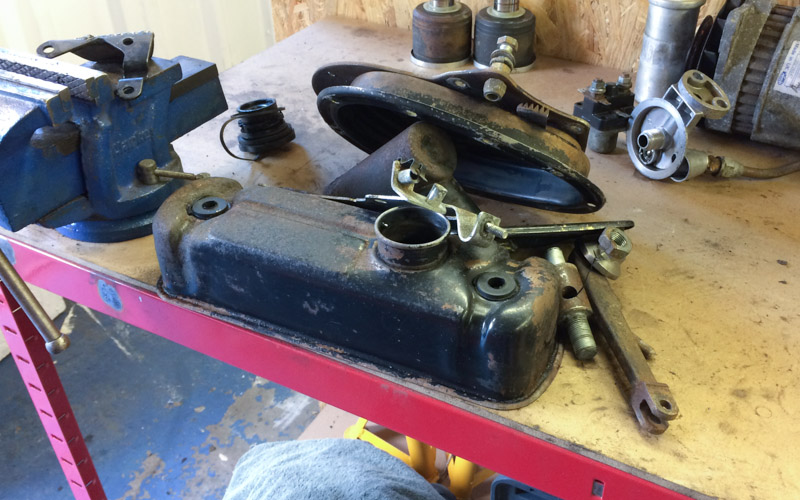
With most of the engine away with the experts, I am left with a pile of dirty rusty parts to clean up. Joys!
I am sticking with this rocker cover rather than buying a new one because I like the original and understated look of it. Moreover, this engine build is getting well dear, so I'm trying not to bankrupt myself by forking out for things which I can restore with a bit of elbow grease.

37428752035_dc48183bd5_o.jpg

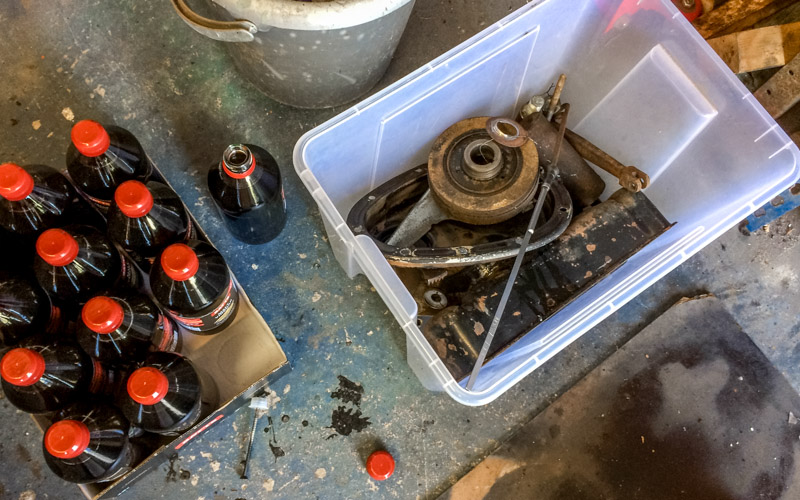
Everything went in this box for a fortnight with some nice Lidl vingar.

36616829323_c7d70544de_o.jpg

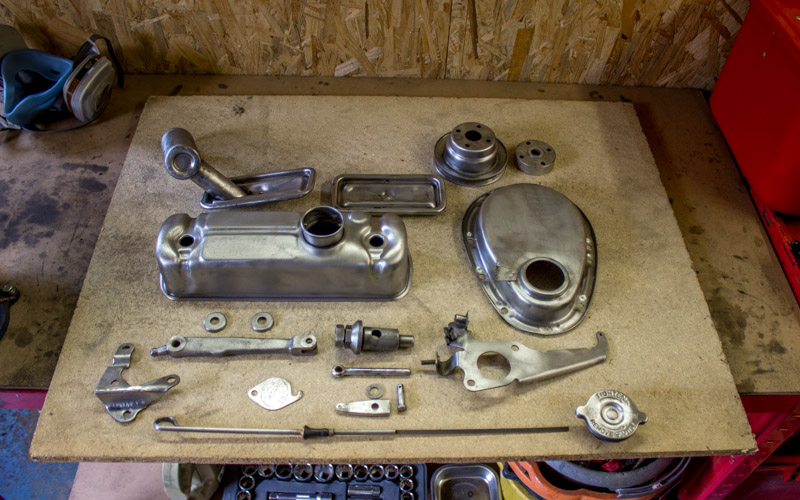
Then I hosed it all down and finished it off with a wire brush. The parts below are now getting painted in temperature resistance gloss black. (Not the clutch bits or the carb plate, actually)

36576385024_b359b33eea_o.jpg

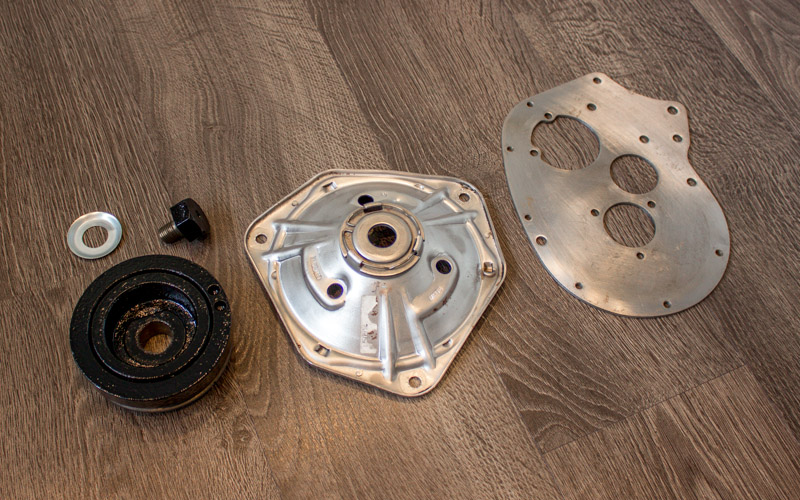
Here is the cleaned up front pulley, clutch diaphragm (waiting to hear if this is usable) and the back plate thingy that goes behind the timing chain. I'll paint the exposed bits of that when its in situ, I think.

37239243616_0aab50c8ef_o.jpg

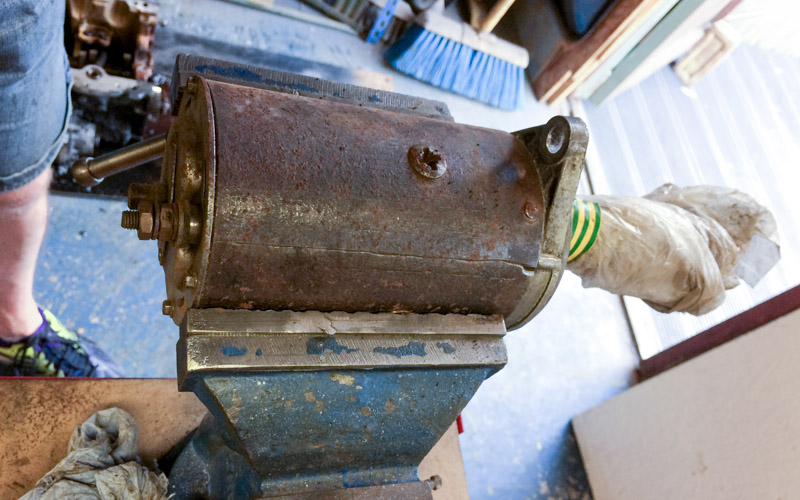
I also took a wire brush to the starter motor body. (I had already done this earlier in the project, but I didn't paint it at the time, so its rusted itself up again since.) *EYEROLL*

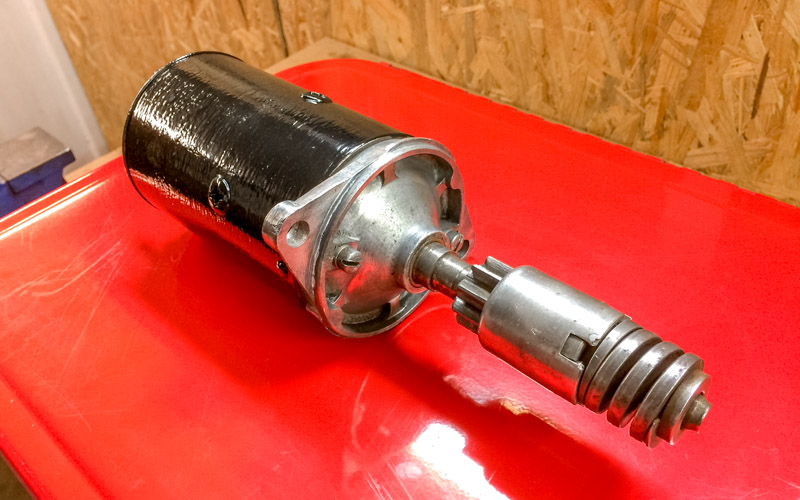
36616753643_79d6888389_o.jpg

Looks a bit more presentable now.

36576482254_a56ceba174_o.jpg

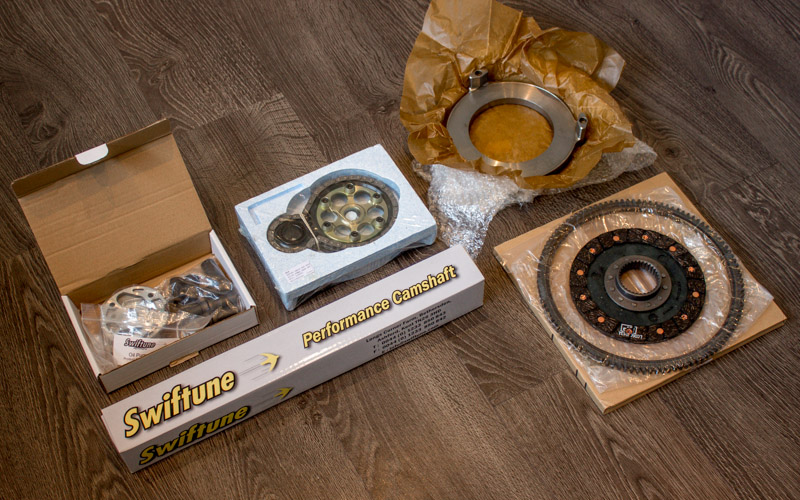
I also received a few of the bits I had ordered. I went for the duplex chain because they used one on the Ultimate 1380 build DVD so I thought it was an obvious choice. Plus, adjustable. Then I read in this months mini magazine that Keith Calver is not a fan at all, and says people fit them because of 'folklore'. *SIGH* Oh well.

Still waiting on the roller rocker assembly from minisport.

36616828433_1590d24a69_o.jpg

As the car has been sitting in the garage for over a year since it was painted, it was starting to look a bit dusty so I pushed it out onto the driveway to give it a wash.

37239242976_b22c6d9a61_o.jpg

36616755363_c5bbbc0d6f_o.jpg

Can't wait to get the engine in just to weight the front end down a bit!
36616754513_7508404f54_o.jpg

36616754973_97e15b9a54_o.jpg