
I know its been ages since I posted in this blog, (SORRY!) but I haven't had much time this year because I've been super busy with work and family life. When I do get time in the garage I've decided the time is better spent doing the actual work rather than writing about it :)
Anyway, here is what I have been up to over the past few months...
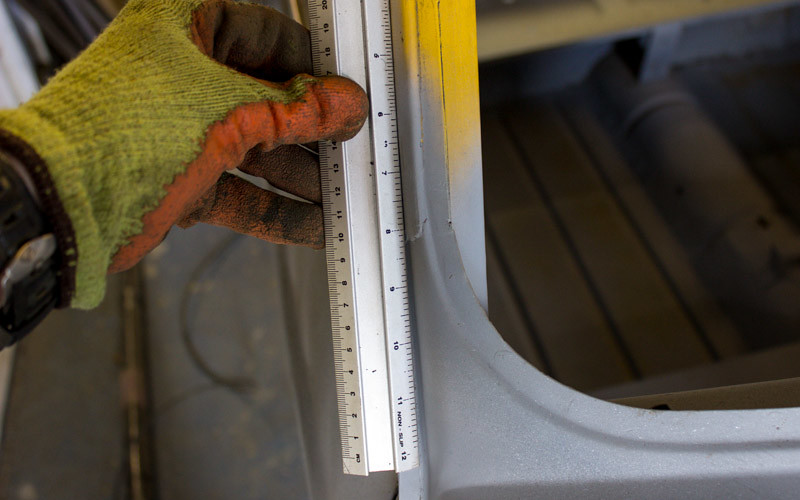
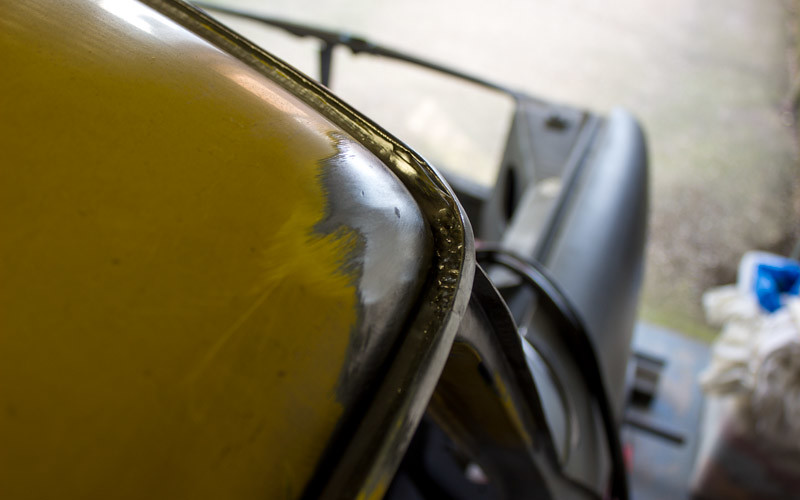
First off, continuing with the doors, the top of the NS window frame was not in a good place when closed.
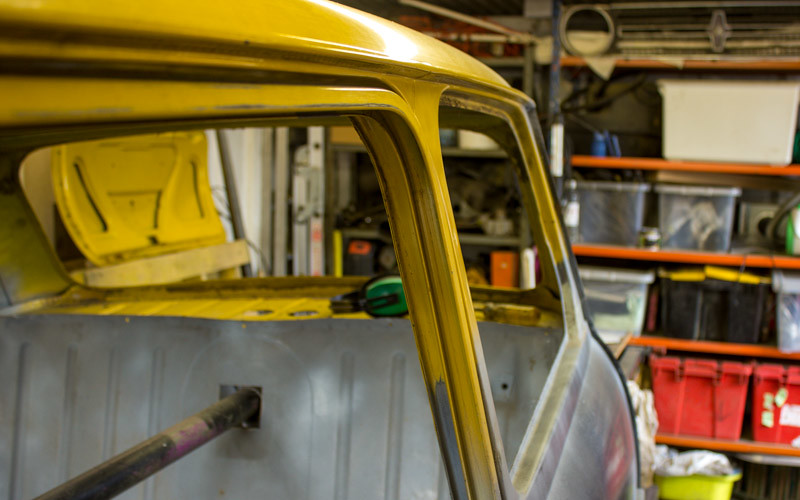
Improved the situation by chopping out this weld so that it could be repositioned a bit.
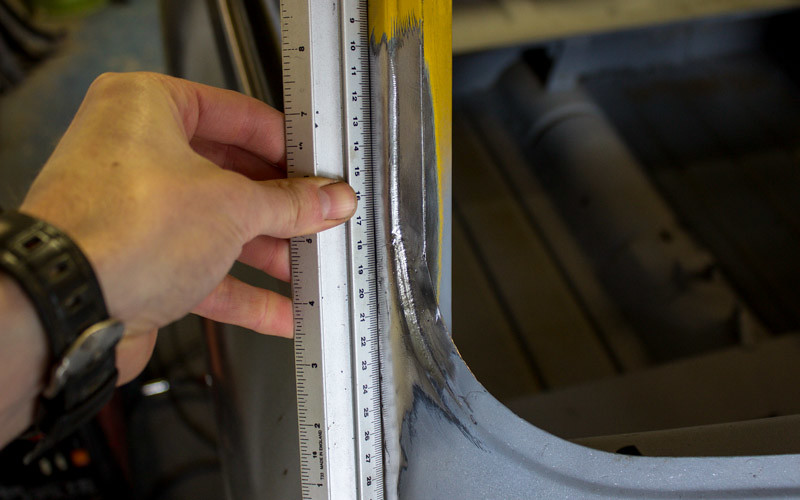
Reworked:
The new fit at a slightly improved angle:
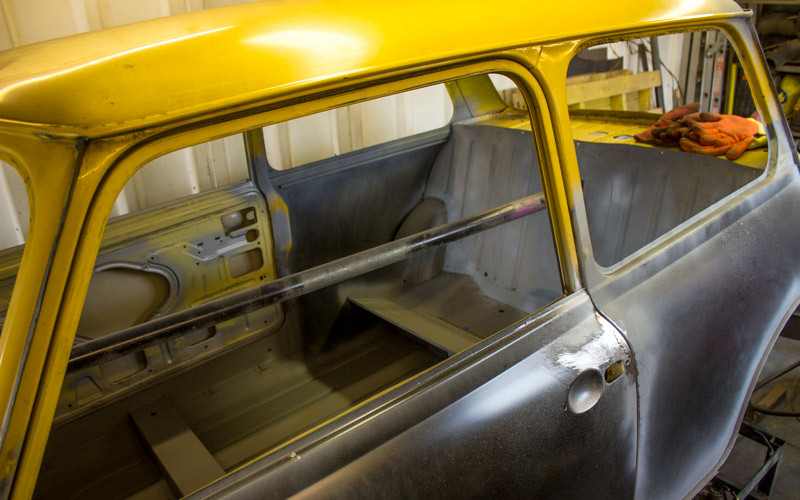
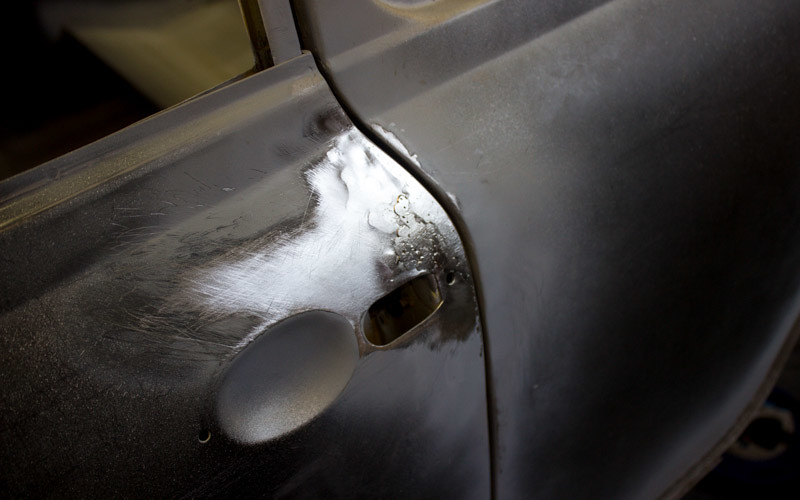
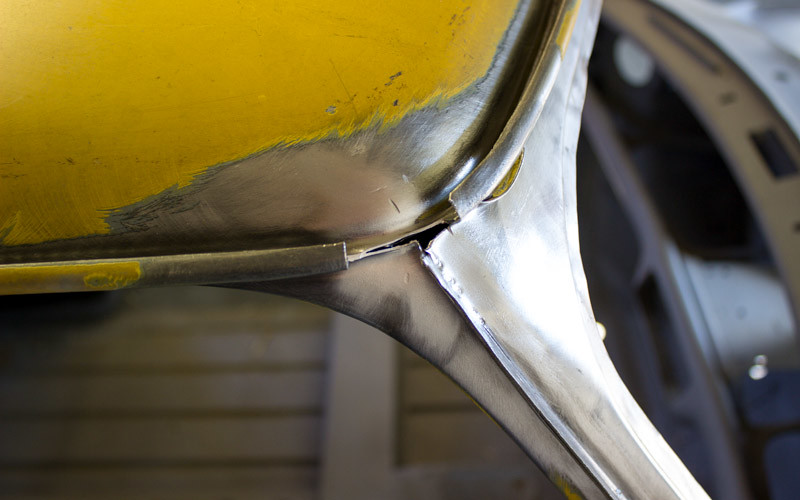
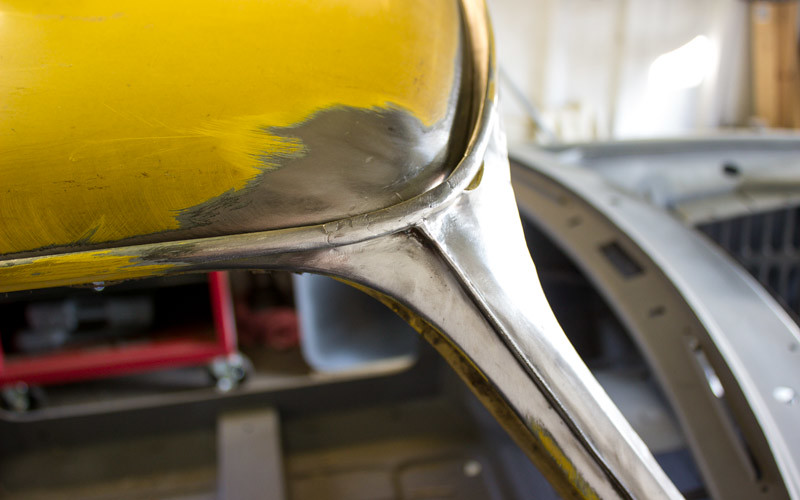
This area on the passenger door was a bit of a nightmare. In the closed position it was far too recessed next to the qtr panel. It was really obvious and ugly when looking down the side of the car. I decided to build up the edge with weld and then hammer and file the area to blend it in. This was as good as I was able to get it and I am hoping body filler can do the rest.
I did also test the fit of the doors with the rubber seals in place and they were fine.
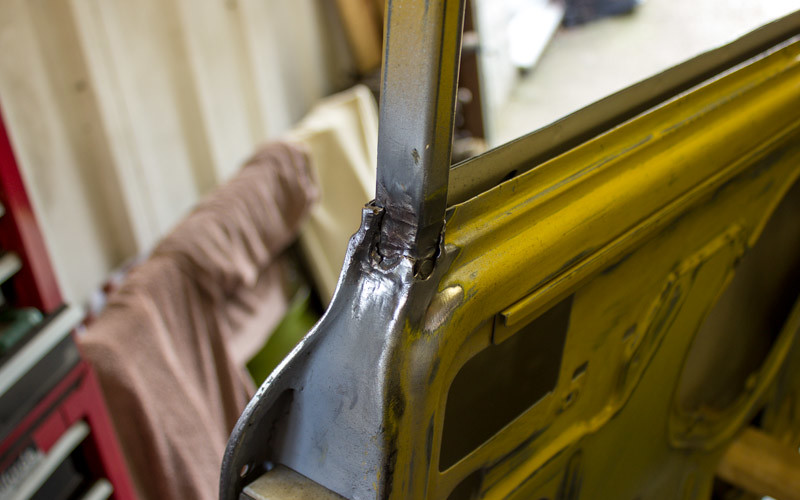
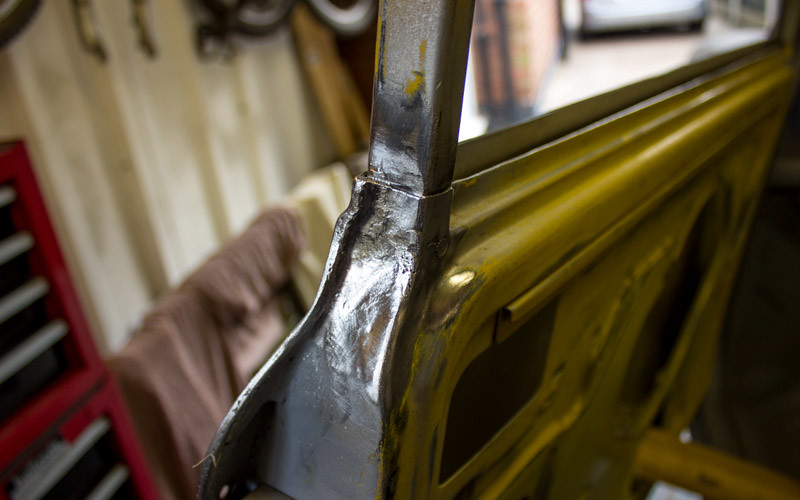
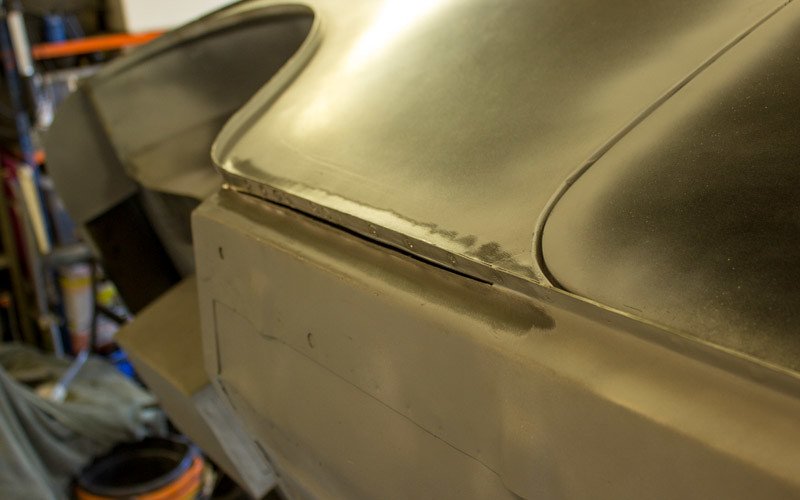
Next up was this 'issue' on the OS A pillar to scuttle join. This was one of the first panels I welded on the car and OMG what was I thinking?
Cut the whole thing open and did it again. Not perfect but better.
I had also always had a problem with the fit of the OS qtr panel (big wavy curve in it). No photos to show apart from this one - I cut this slot underneath, tweaked it outwards, and welded it up again in the right place.
Rust was found in this gutter corner, so it was removed. The shape of these bits is super awkward, and really visible because they are really close to you when you stand next to the car.
New repair piece partly installed.

Finished.
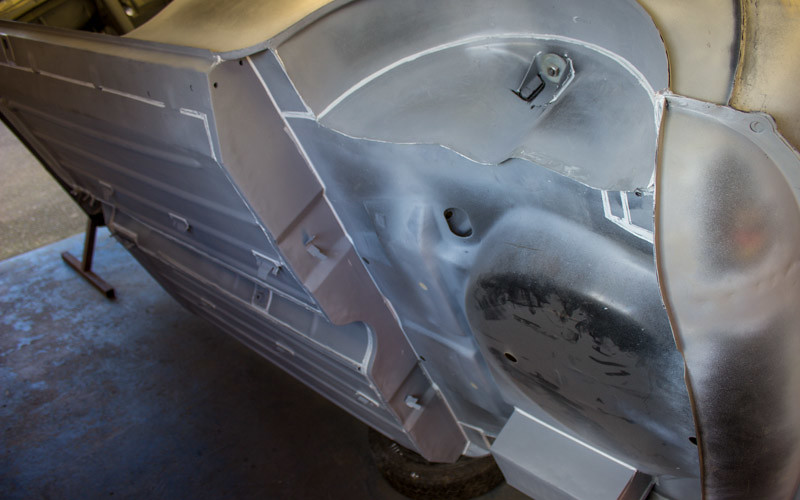
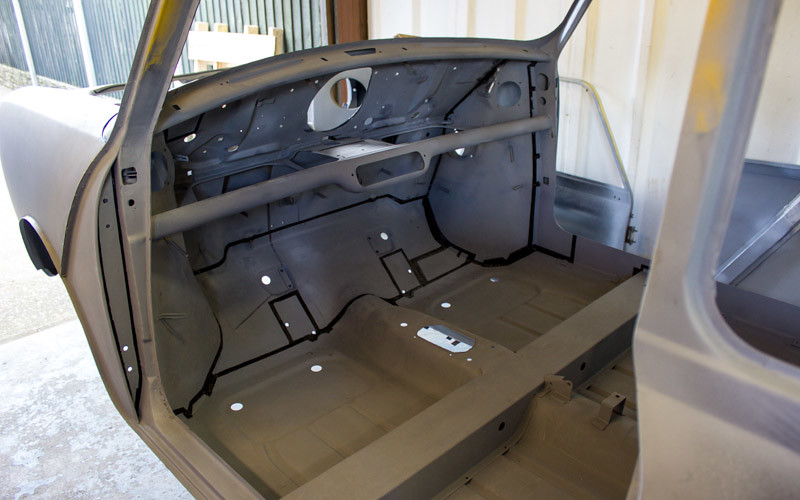
Then onto the biggest problem with neglecting the project for 2 years to have a baby - rust had started to show through some of the primer. In the absence of the budget required for a full chemical dip, the only thing to do was to strip the offending areas to bare metal by hand. The floors and the rear bulkhead were affected...

...and the lower front panel...
...and parts on the underneath.

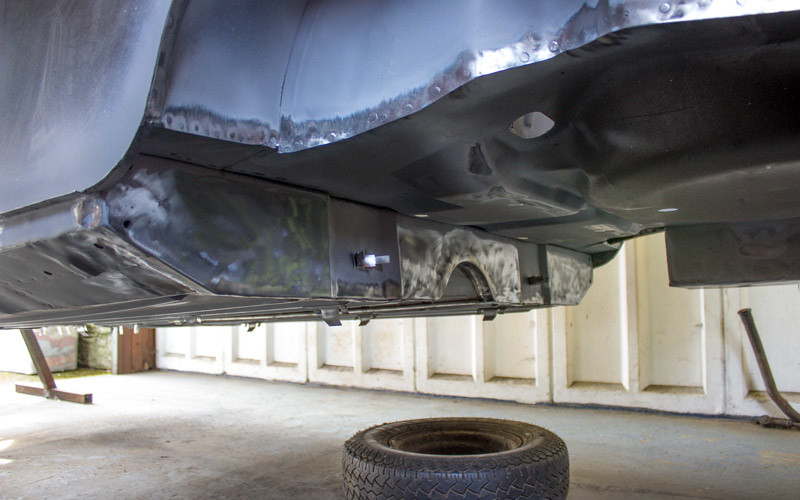
For good measure I went over the whole lot with kurust, before priming it up again.
Next problem: look at that massive ugly disgusting gap between the bonnet and the grille! AAARRRGH!
Seriously, this problem had me stressed out for weeks. In the end I made some strategic cuts in the stiffening structure to release it away from the skin, then clamped it all up flat and welded it back together.
Better:
I think I had a lucky escape with this one. Its not perfect, but nothing on this car is anyway :)
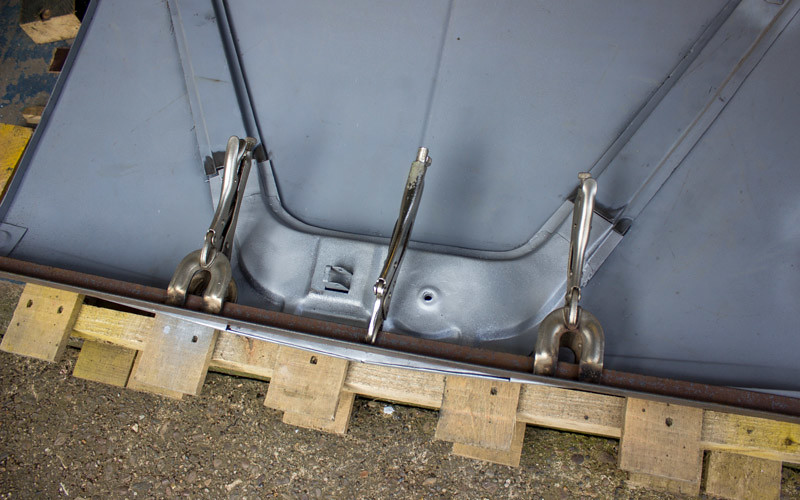
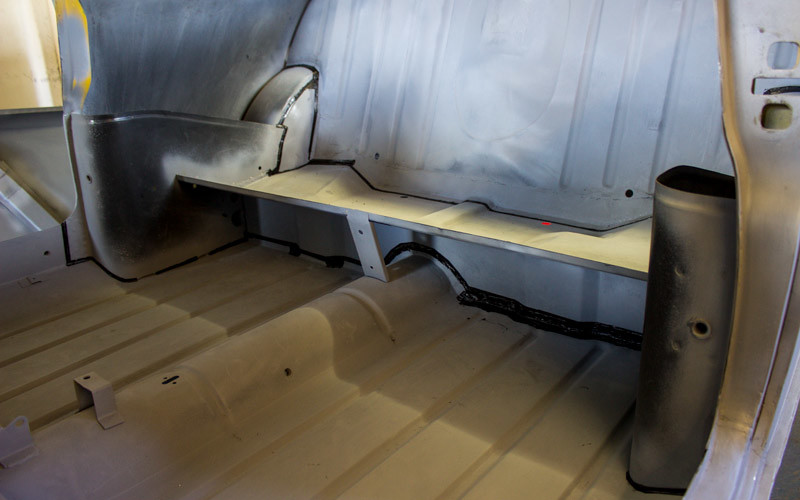
At this point, I finally called the metalwork DONE. Time to apply some seam sealer. First: masking tape.

More tape:
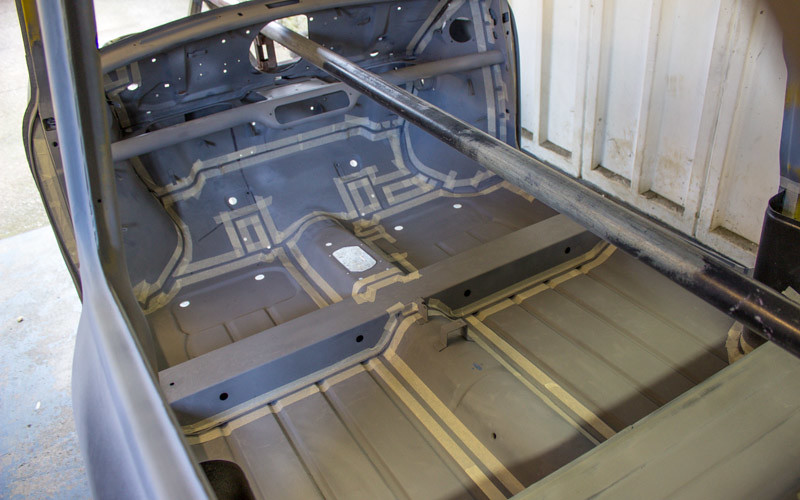
Then sealer:
More sealer:
Yes I had to switch to black because I ran out of white and halfords only had black. Nevermind.
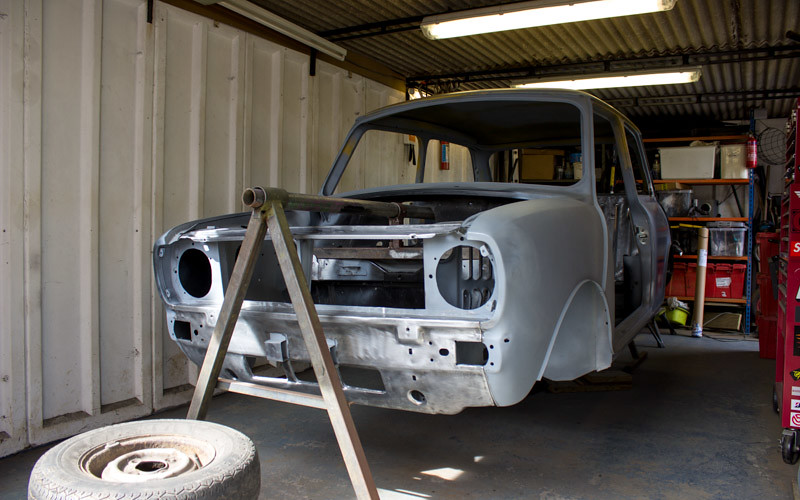
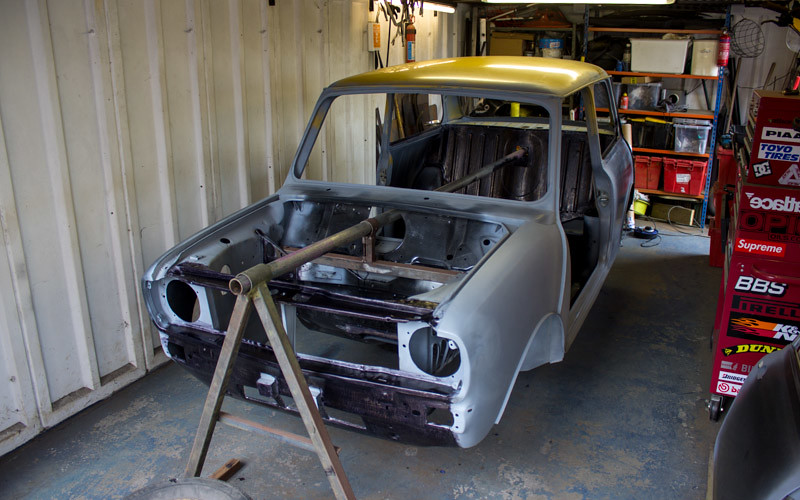
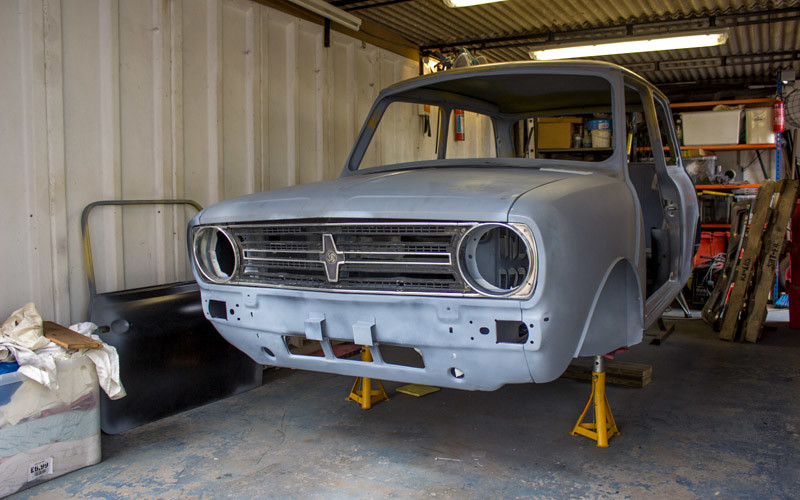
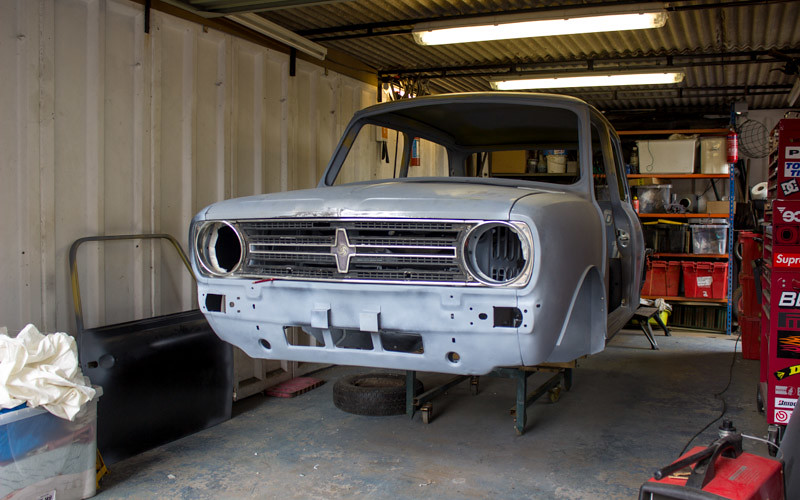
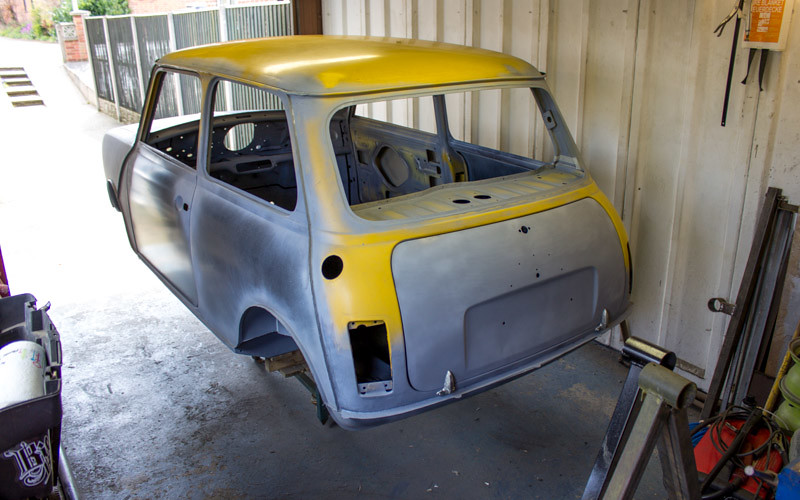
Which brings us up to today, and the car now looks like this.

And then this happened! Yes today the car finally went away to be painted!
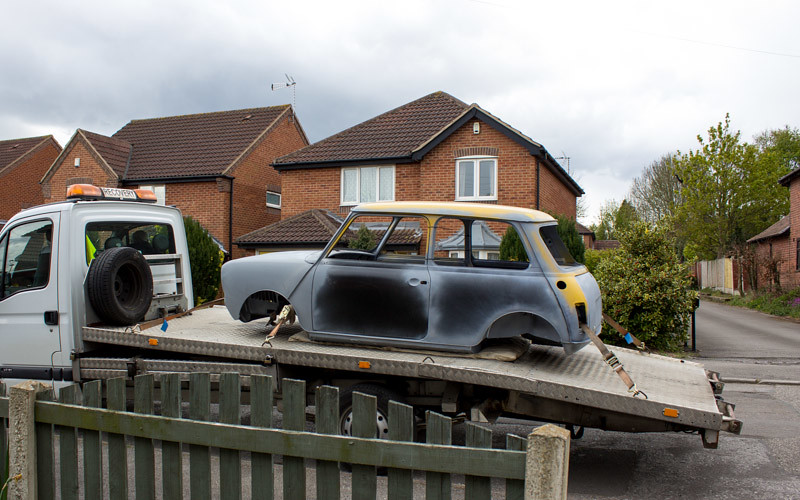
The painter is taking care of all the body filler work, final flatting and painting. Phew! Cannot wait to get it back and see it in paint!
Now I can start my new hobby: ENGINE REBUILDING!
No comments:
Post a Comment