
So anyway, I finished cutting out that repair I was working on in my last post, shaped it, and primed it up.

And here it is welded in.
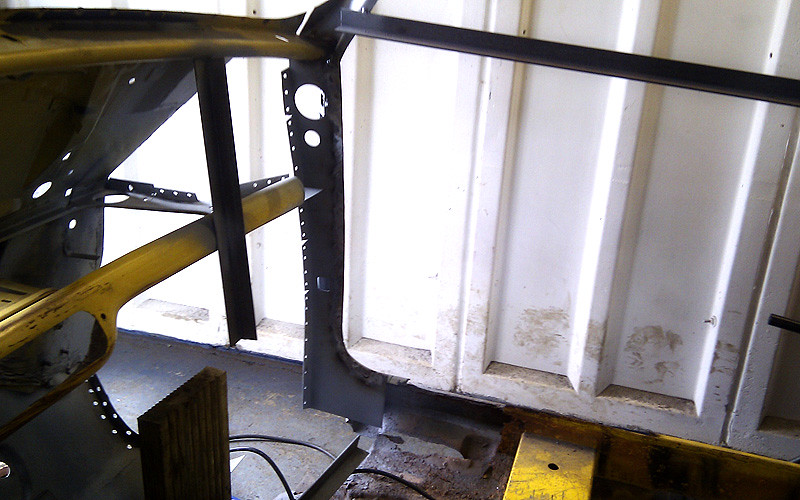
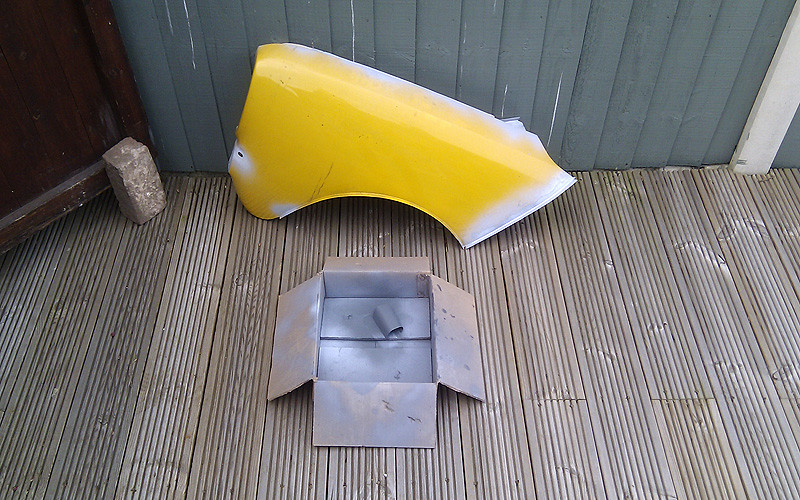
This area is starting to come together now. I want to top coat the enclosed section before fitting the inner wing. Speaking of which, I stripped and primed the enclosed areas ready for paint. I also welded up the pre-drilled holes for the door hinges because the are nowhere near the existing holes on the car.
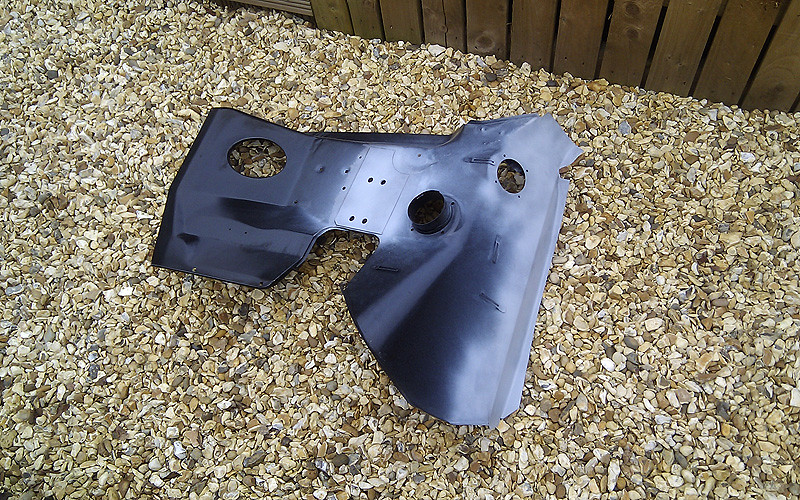
In the meantime, I decided the near side wing I had taken off was salvageable, so I carried out some rust repairs and primed the areas for protection. The round thing in the foreground is a home-made repair to the rusty end of the dash rail. :)
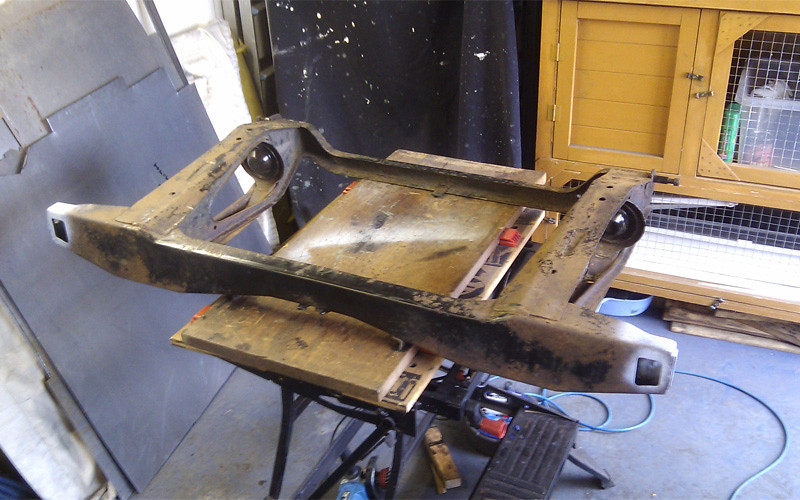
I also set about restoring the front subframe. I took the suspension bits off, soaked it in degreaser in a kiddies paddling pool, jet washed it with a hosepipe, then attacked it with a wire cup on the grinder. I also did a bit of seam welding around the towers for fun. :)

I had read some good things about POR15 on the mini forum so I gave it a try, and I was really pleased with the result. Highly recommended! Its more of a chemical treatment than a paint job, but the final product is awesome. I will take a pic soon. I'm storing the subframe in the house now as it is in such a clean and pristine condition!
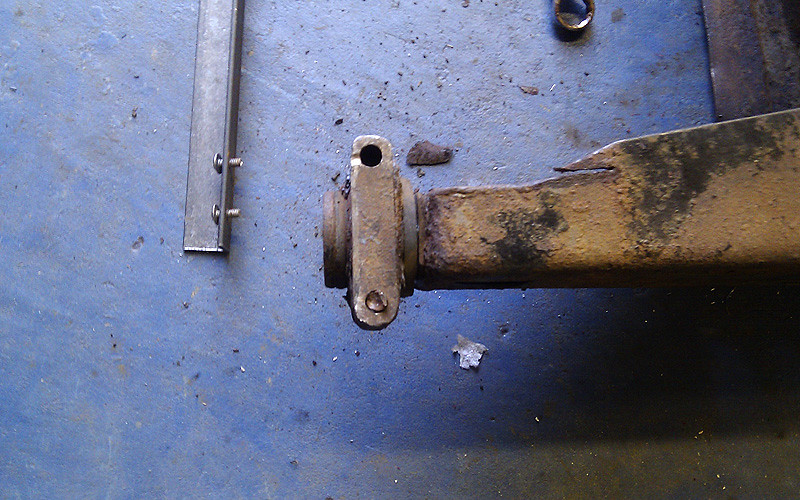
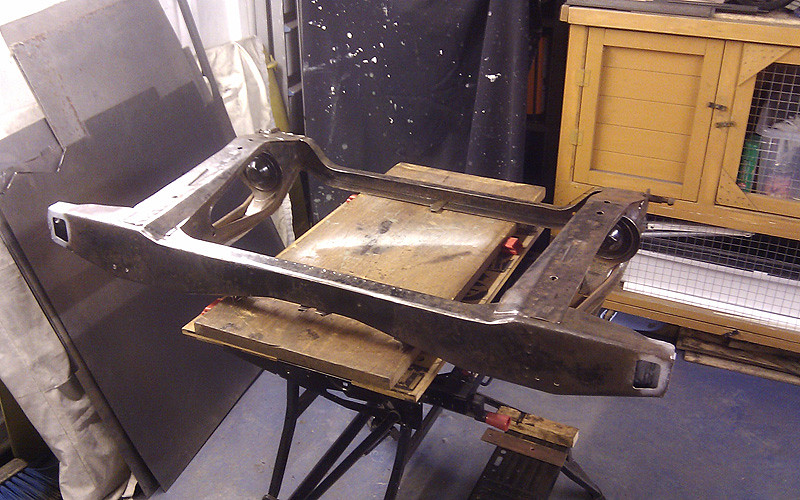
The rear subframe is much more rusty, but I think it can be rescued, so I'm going to give it the same treatment. Here is my home-made 'tool' for removing the mounting bolt.
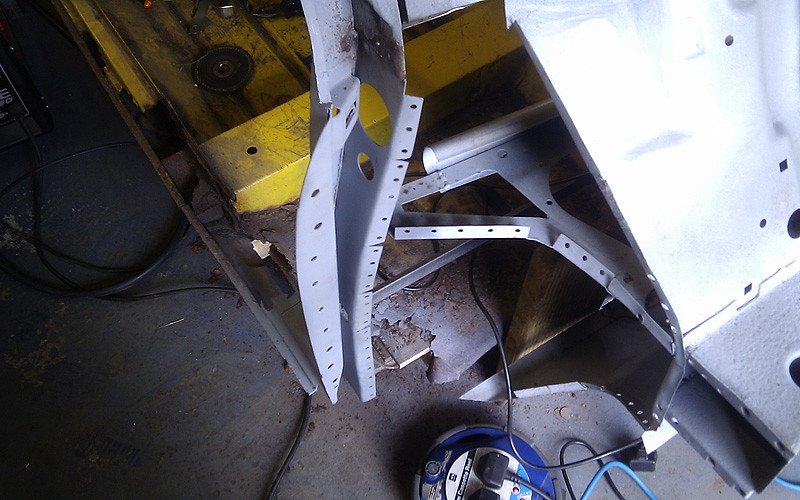
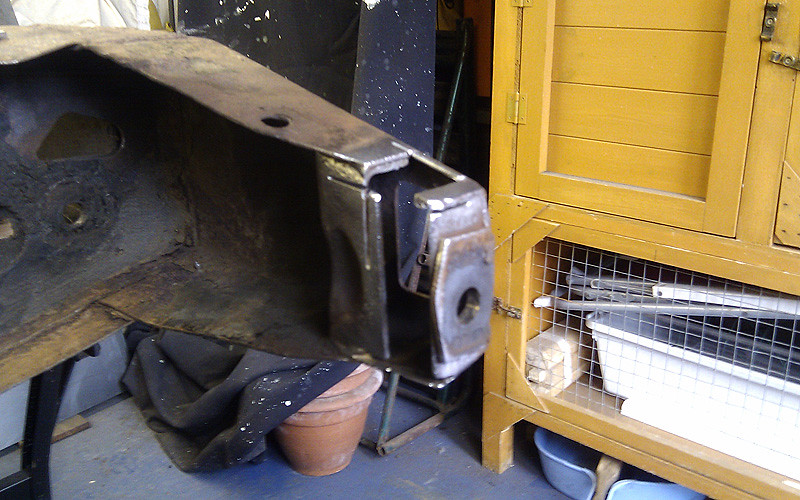
Some of the bolts on the suspension assembly were going nowhere, so I had no choice but to drill them out. This was a pain because I destroyed the captive nuts in the process, so the only thing to do was to cut out the affected area and weld in some new 3mm plate. I can then hopefully offer up the mounting bracket and drill new holes in the right place and weld new captive nuts onto the inside.
Here is a little before and after a session with the wire cup.
I'm off to newark autojumble tomorrow, so I hope I can pick up some more POR15 to finish the job. :)
No comments:
Post a Comment