
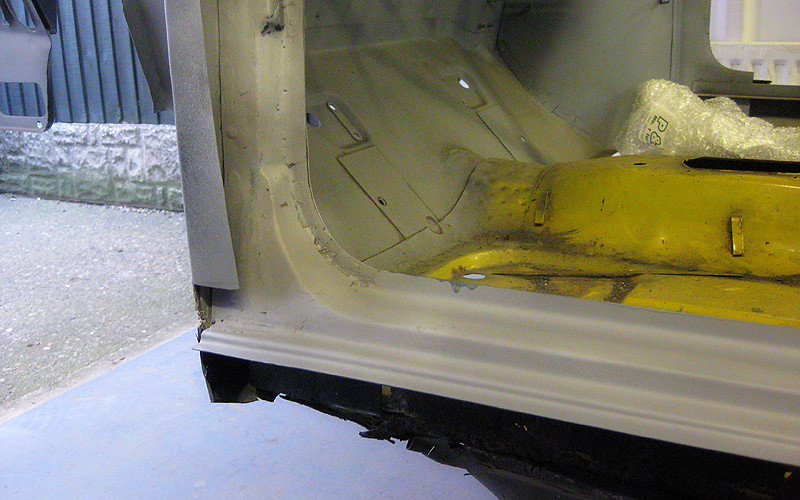
On with the quarter panel fitting! I drilled out the spot welds on the remains of the old panel. The inside of the waist rail turned out to be in OK nick.
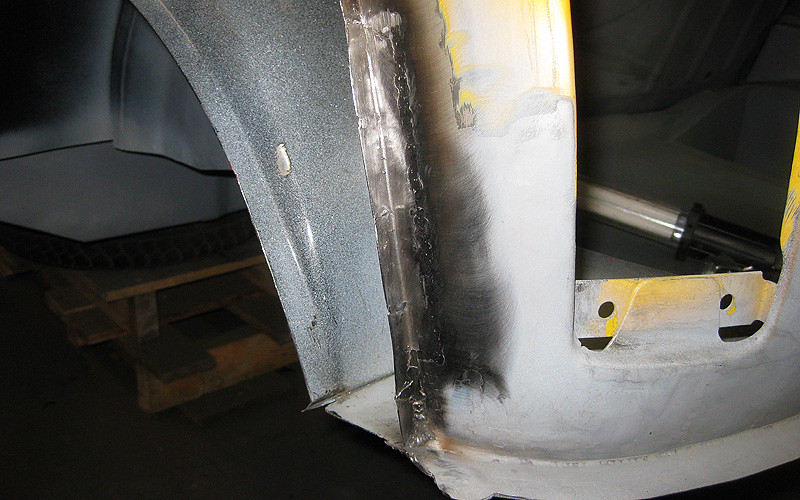
Wasn't too happy with the state of the seam lip on the lower rear panel so decided the chop was in order.
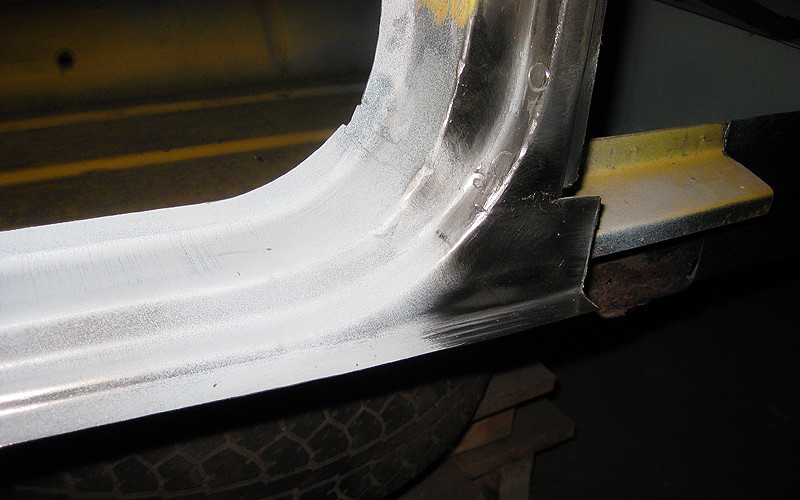
New metal in:
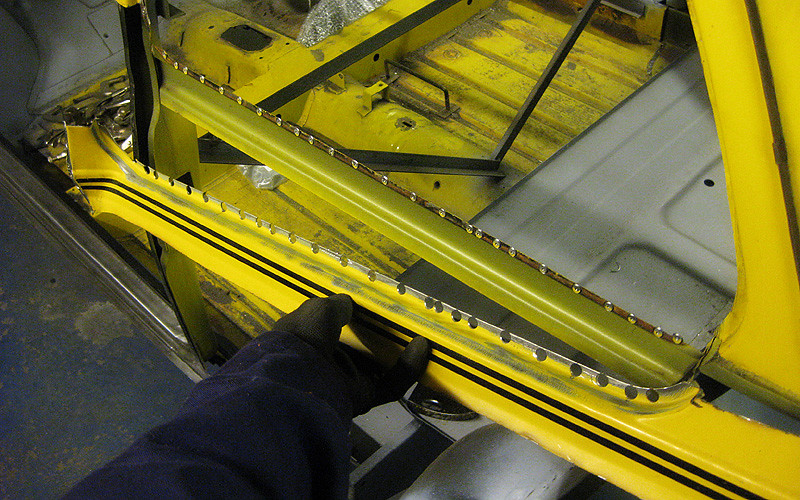
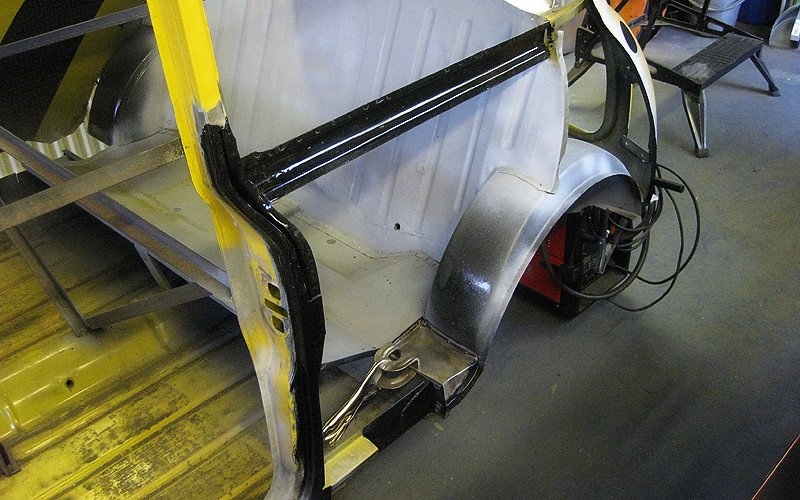
Before putting the new quarter panel on, I did the usual routine of stripping and double coating all enclosed surfaces with POR15. I've also got the little filler panel clamped in place here. I'm planning to fit the companion bins at a later stage because I've got to replace the inner sills first, so I am leaving a little gap between this panel and the edge of the rear squab. Hopefully I can slot the companion bin into place when the time comes.
I'm not sure if there should be a jacking point in here somewhere that I am missing... I'll have to do some research. Unfortunately the old metal that I cut out of this area was so rotten it was impossible to tell exactly what was in there originally.
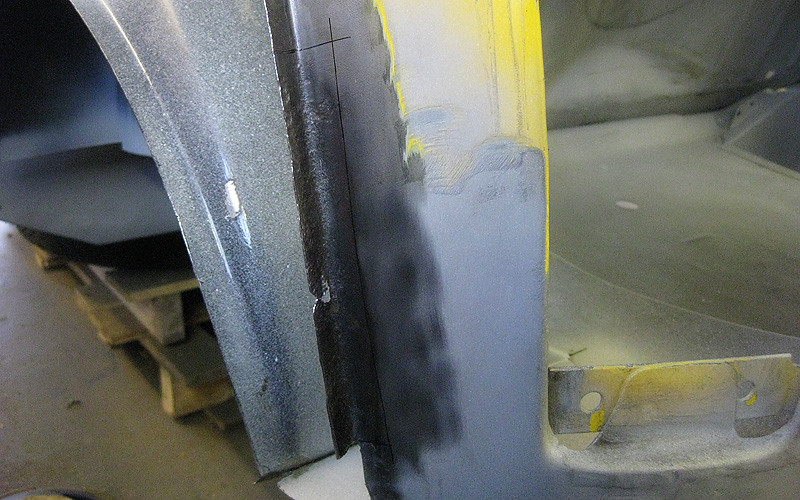
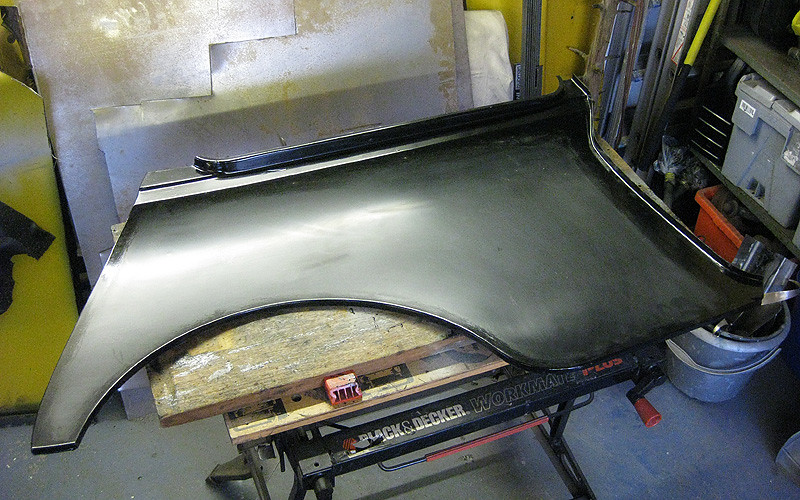
Also prepared the enclosed parts of the quarter panel with POR15.
Test fitting - not bad! Hopefully I'll get this properly welded on this weekend or next (depending on what I do about that jacking point).
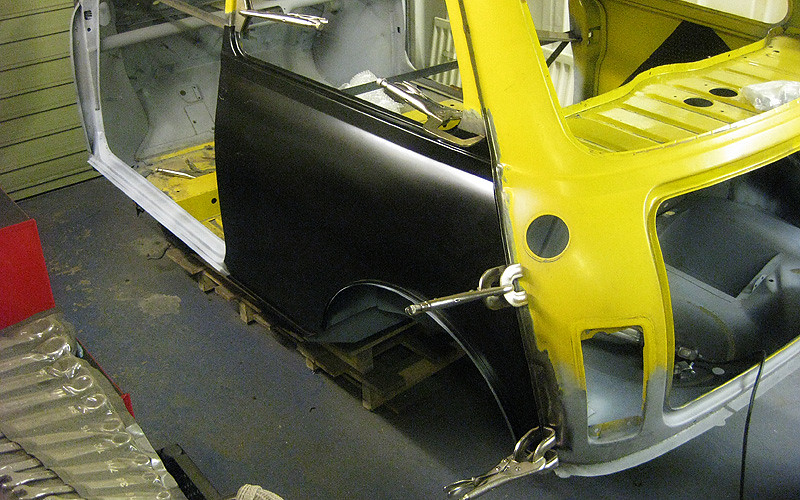
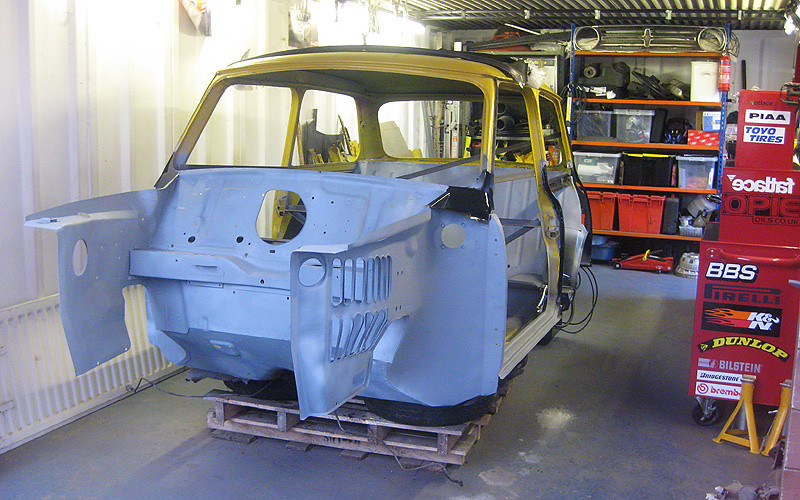
As I haven't posted a photo of the whole car for a while, this is how things are looking at the moment. Rock and indeed Roll. :)
No comments:
Post a Comment