
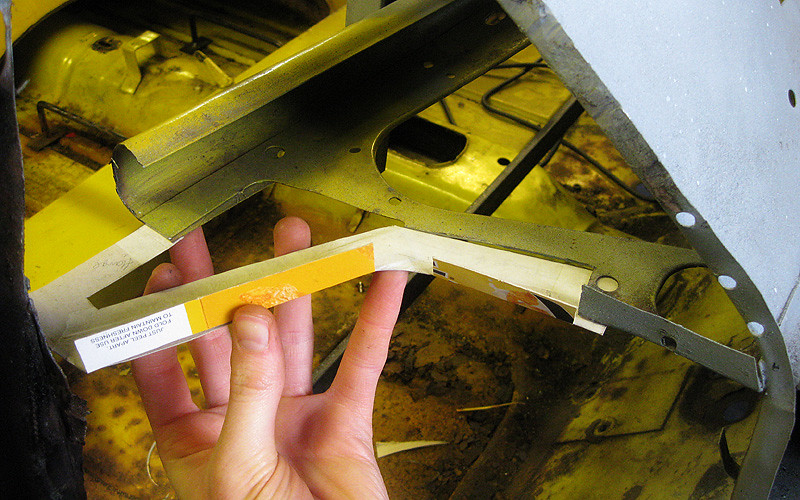
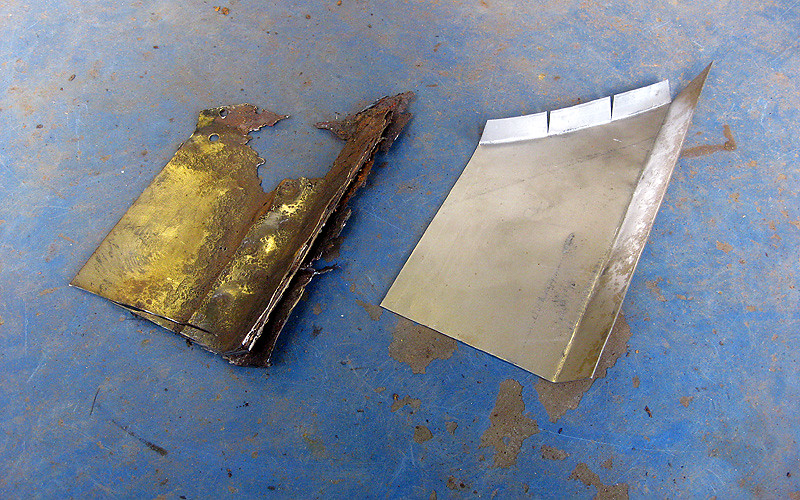
After much trimming and bending and swearing, I had fabricated the required piece.
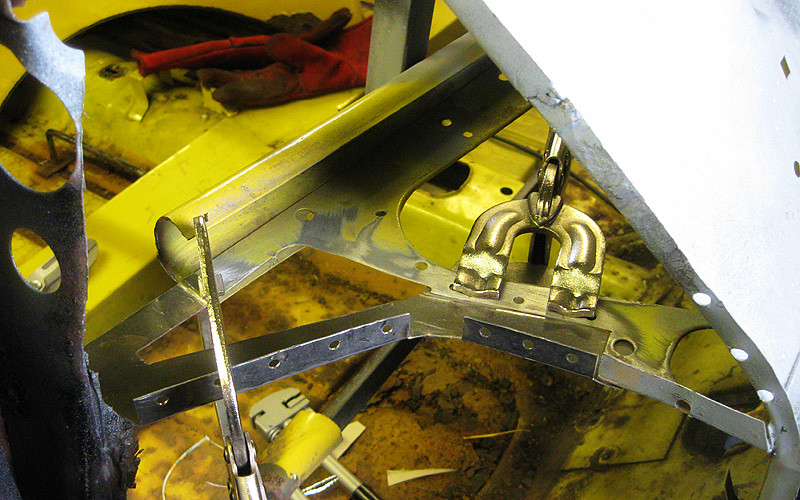
Welded in and dressed down. Its difficult holding a grinder in that tight space without severing one's fingers.
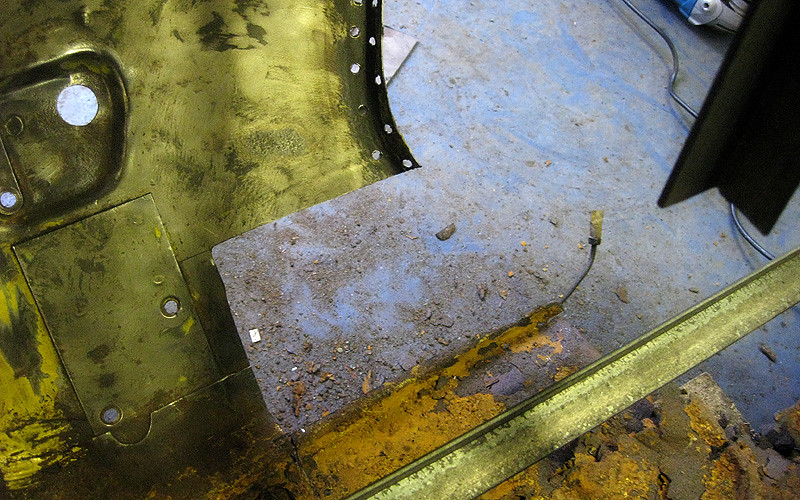
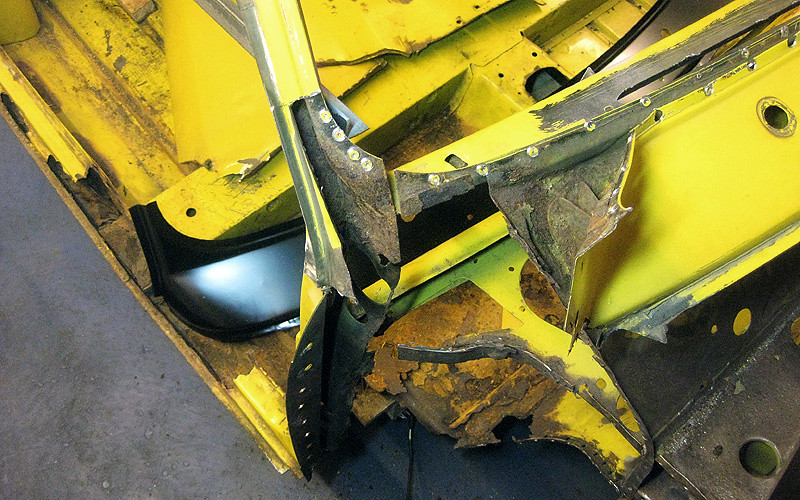
Then on to the lower firewall disaster zone...
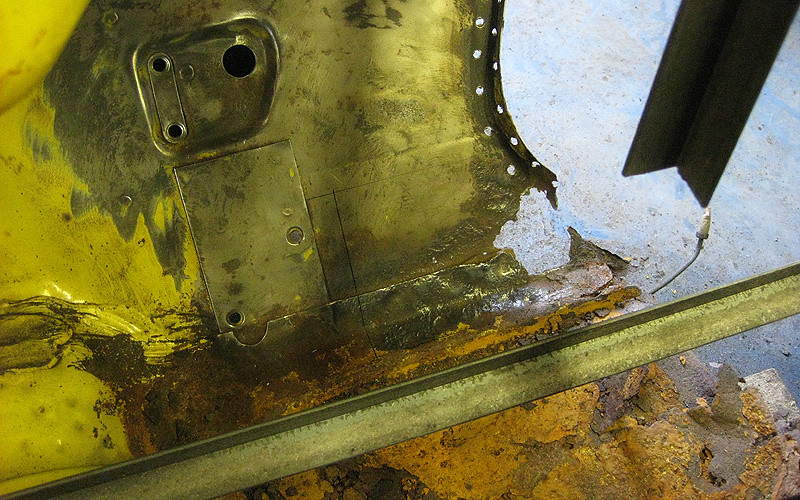
Chop the rot!
New piece made up to size. I measured it as accurately as I could against the new inner wing. Since the new inner wing doesn't fit very perfectly (yet), I'm pretty sure the curved edge will need whacking with a hammer at a later date.
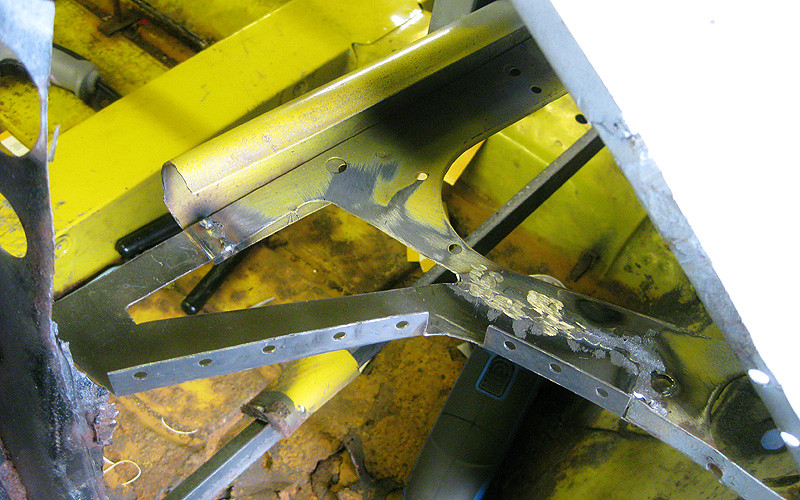
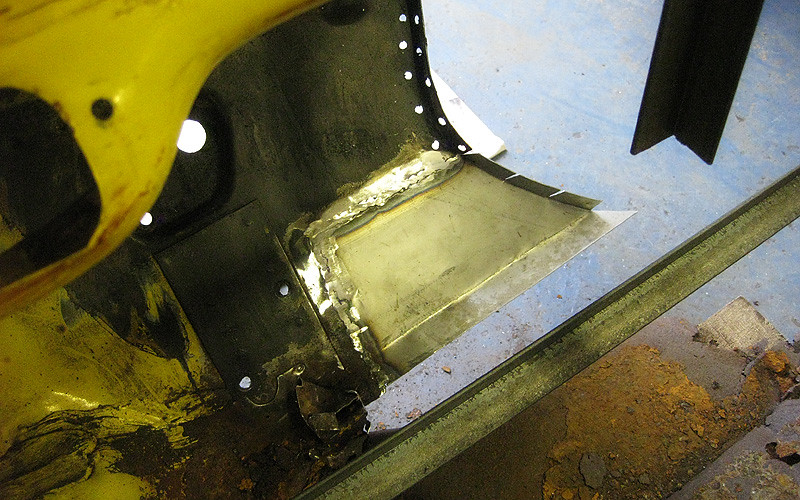
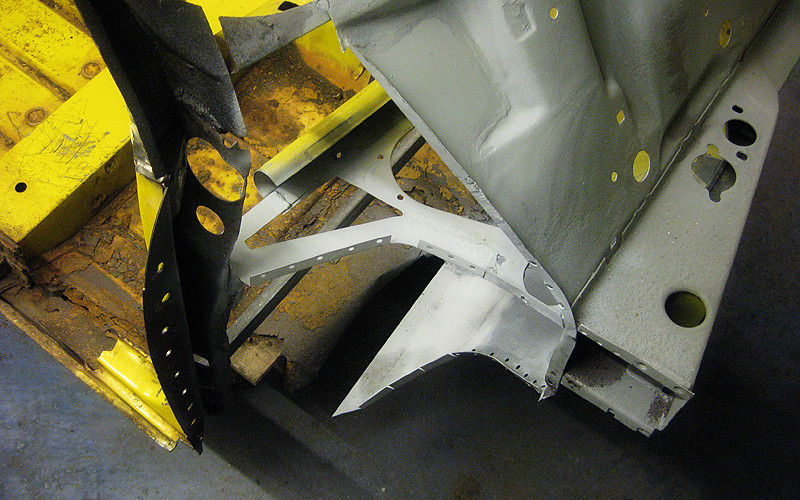
Welded in and ground down. I also kurusted the surrounding area in the meantime, which is why the metal looks black.
A dusting of etch primer over everything.
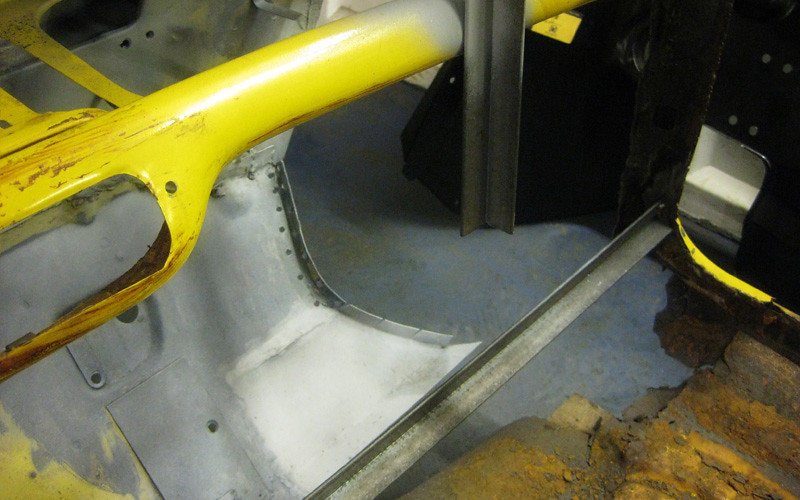
Here is a little before and after of this area to show the dramatic improvements! The first pic is from a couple of weeks ago.
So progress is definitely happening, but it is sloooooooow. I'm doing a lot of this stuff for the first time and its taking me a while to work it all out. I've also fabricated new brackets for the bonnet hinge on this side as the old ones were NBG. The next thing to worry about is what the hell I am going to do with the door post. It looks like its going to be a nightmare. I don't even want to think about it at the moment!
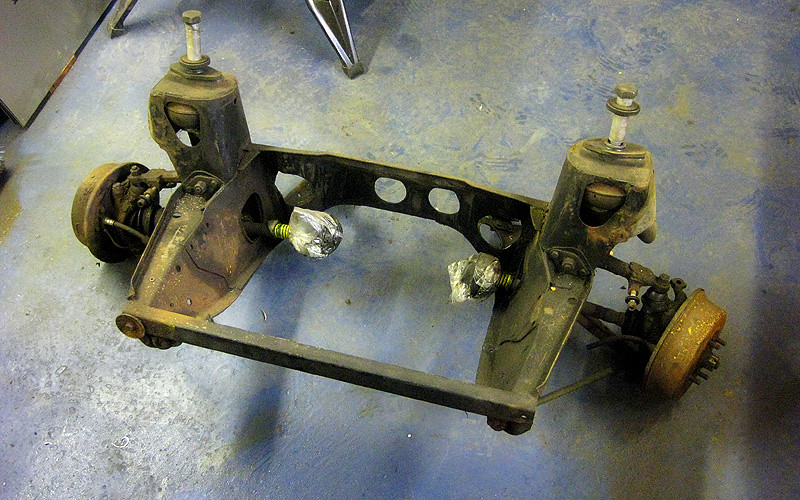
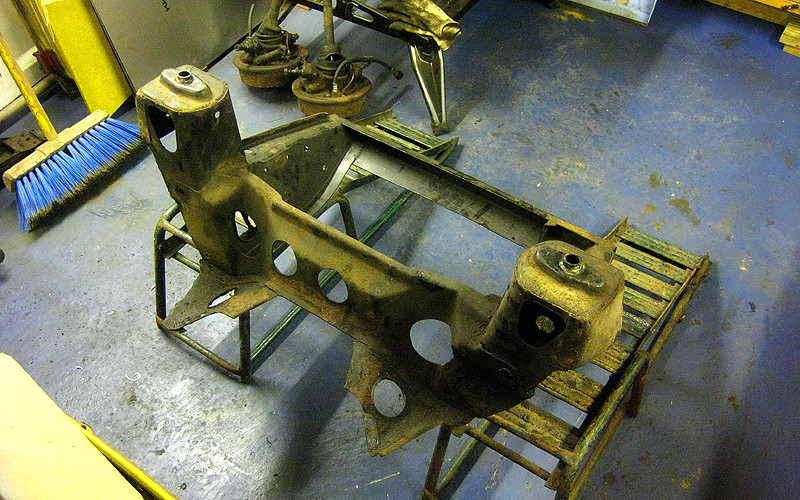
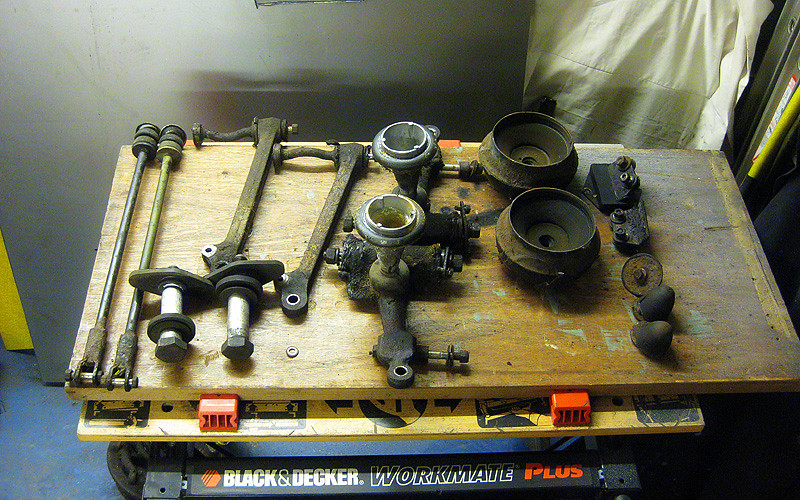
After all that mucking around with bits of steel, I felt like doing something mechanical; so I stripped the front subframe. Satisfying! I didn't even have to destroy anything in the process!
BITS:
That is all! If I'm doing anything wrong/stupid, please tell me! :)
"If I'm doing anything wrong/stupid, please tell me!"
ReplyDeleteYou're going to the trouble of rebuilding a car, instead of just buying a new one.
Thanks for your input IAIN. Labour of love, init!
ReplyDeleteHaha, poor Hayley. ;)
ReplyDelete