
Side 2 of the floor! After doing the first side, this should have been a piece of cake, but it still took ages. This time, having learnt the heelboard lesson from last time, I cut and bent out the flaps right at the beginning. The crossmember needed a lot of rust repairs on the driver's side, so I did the necessary rebuilding and painted the inside with POR15. This is a bit of a milestone for the project as this floor panel is the last rusty panel to get the chop. With the exception of a few remaining small areas, there are no more rusty panels to replace on the main shell. :)
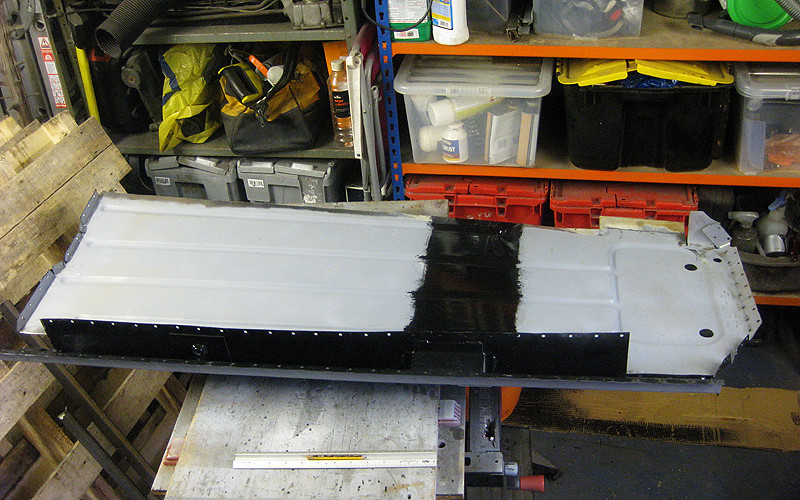
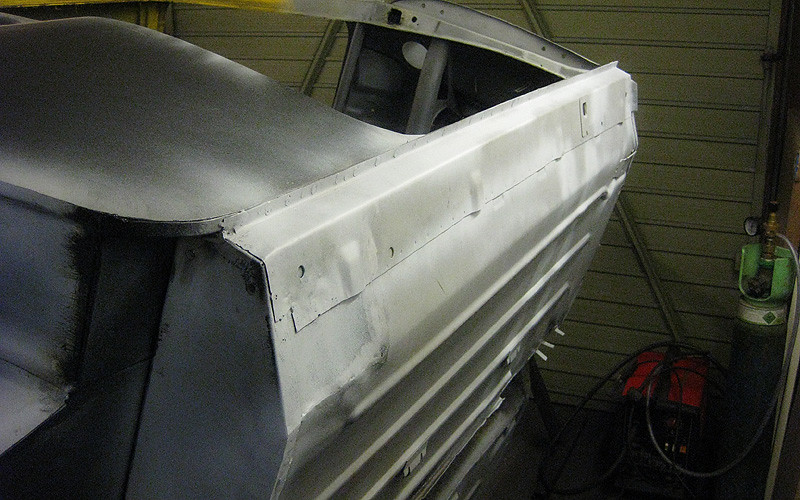
New floor/sill panel primed, rust protected and drilled ready for welding in.
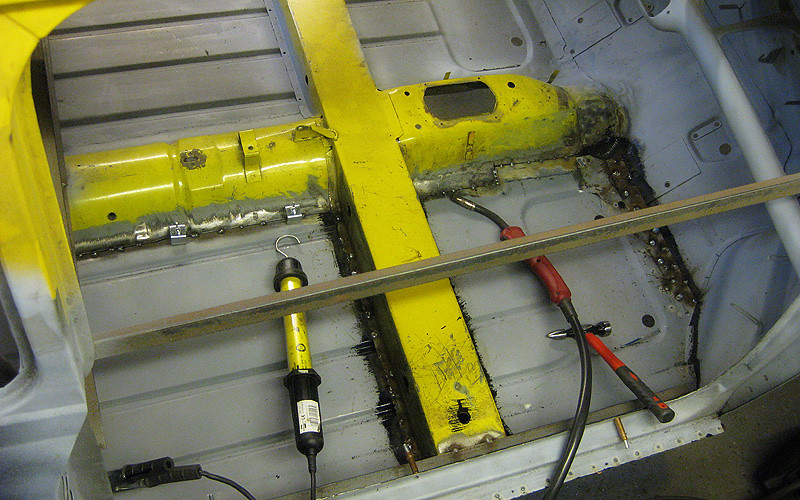
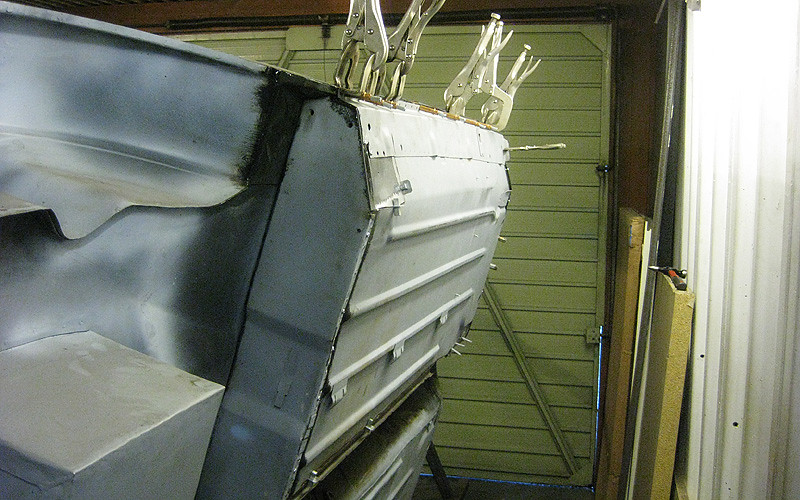
Fitted in place with most of the plug welds complete, and tacks along the seam. Intergrips are a godsend when fitting floor panels!
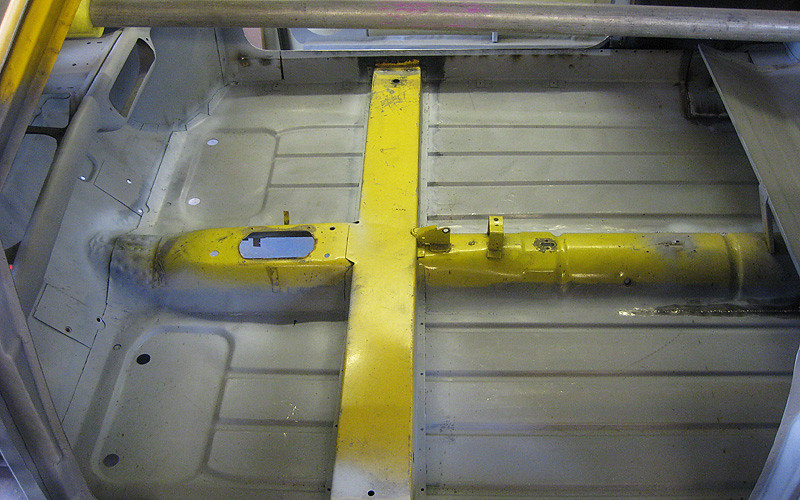
The view from underneath...
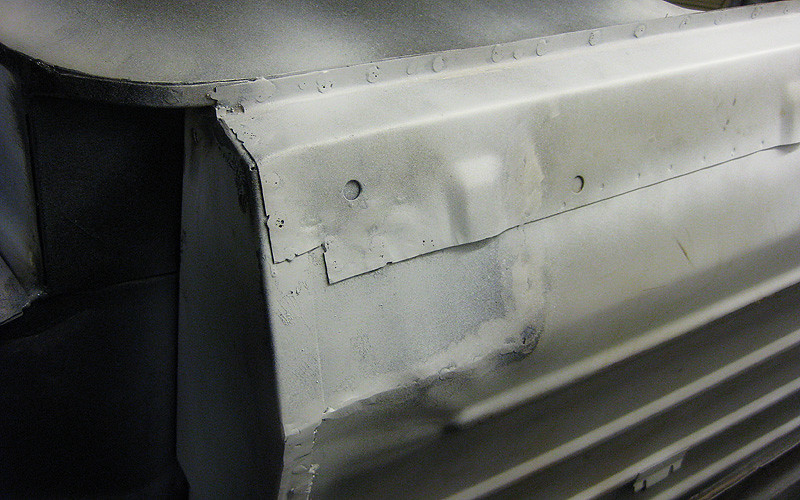
As with the passenger side, I kept a chunk of my previous floor repair in place at the heelboard end because it was too integrated into the companion bin stuff to remove.

Post weld and grind:
This area still needs a bit of additional welding from the inside.
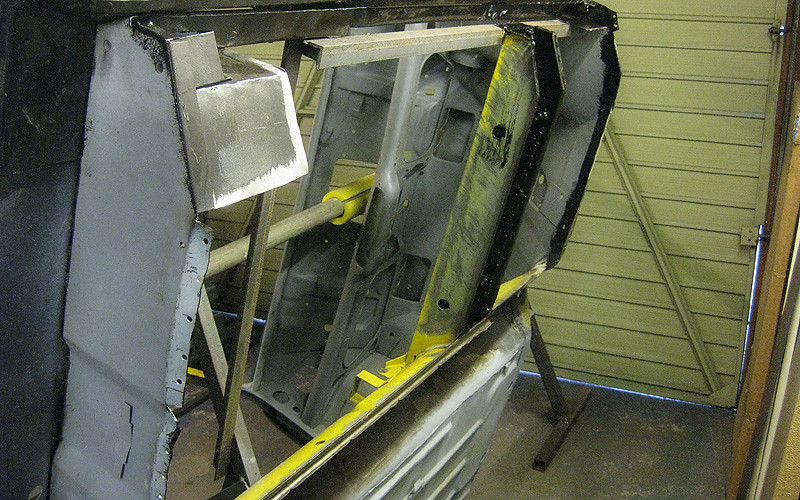
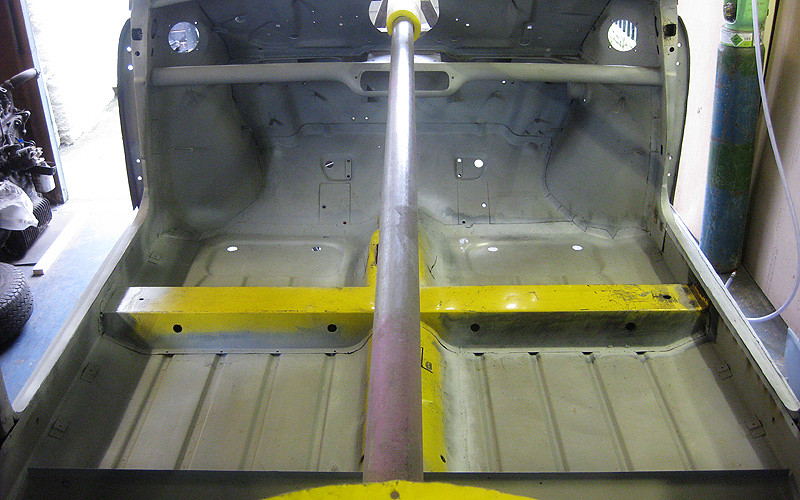
Finally! Both sides of the floor (mostly) complete! There is still some welding to do to join up some gaps on the inner sills and floors towards the back end, but I was able to remove the bracing as the shell is now strong enough to hold its own shape.
Next job after finishing off tidying up the floor welding is to paint strip and prime the tunnel and crossmember.
No comments:
Post a Comment